The project name comes from alchemy which was the process of turning ordinary metal into gold. Our goal is to turn this ordinary WRX into something special which....spoiler alert....will be wrapped Gold once complete.
Journal Updated April 6, 2016
--------------------------THE MOD LIST-------------------------
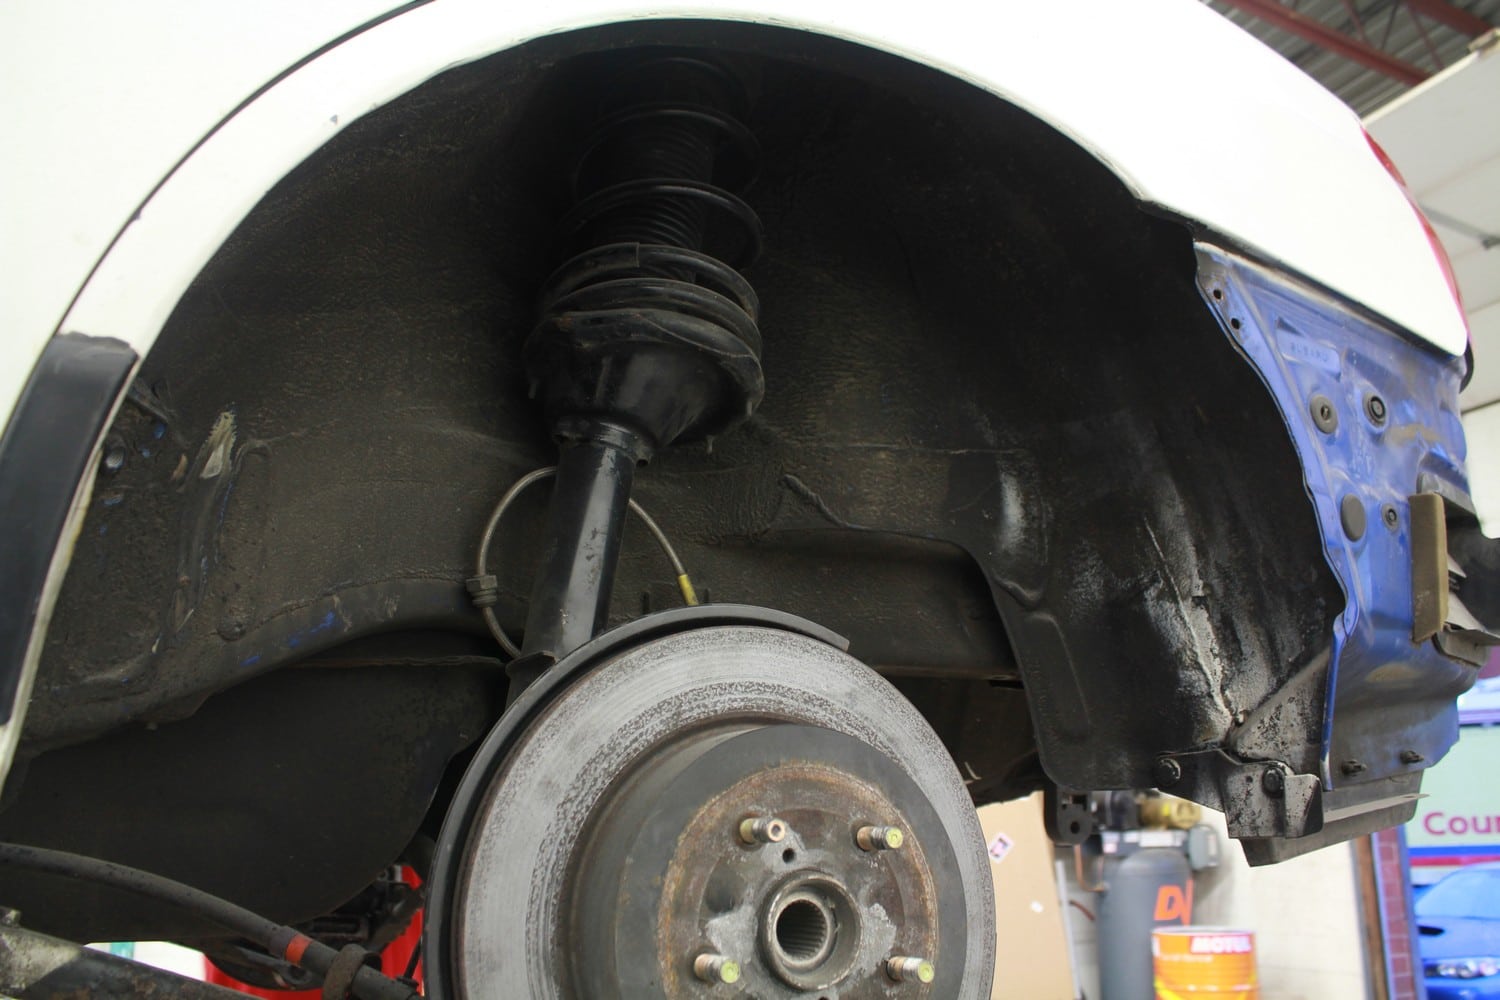
Suspension
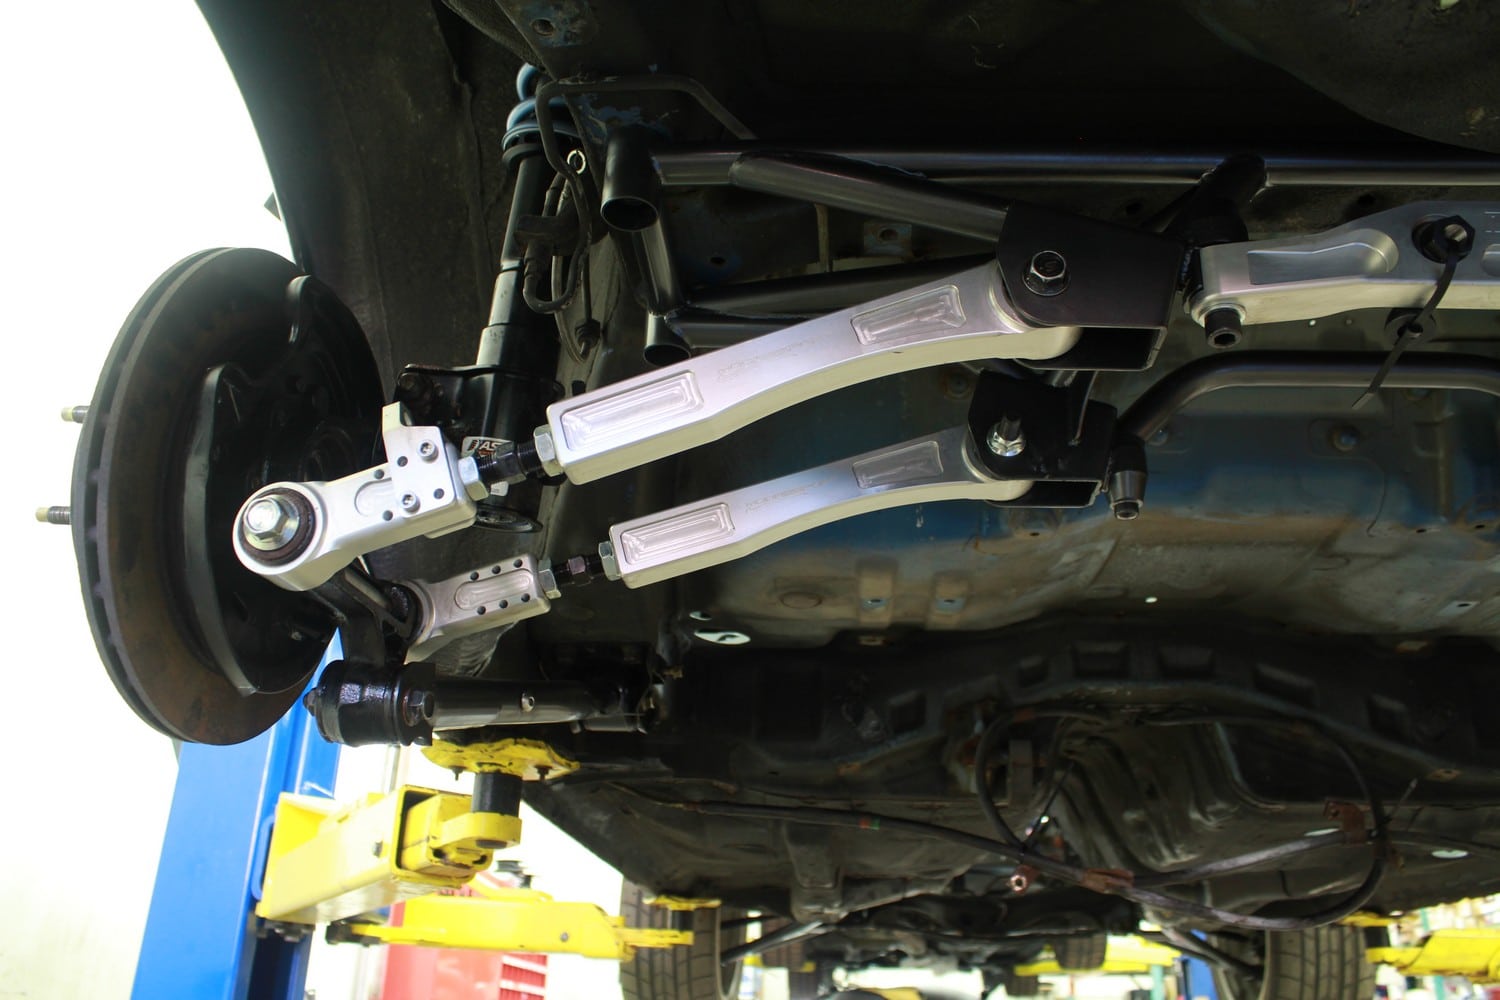
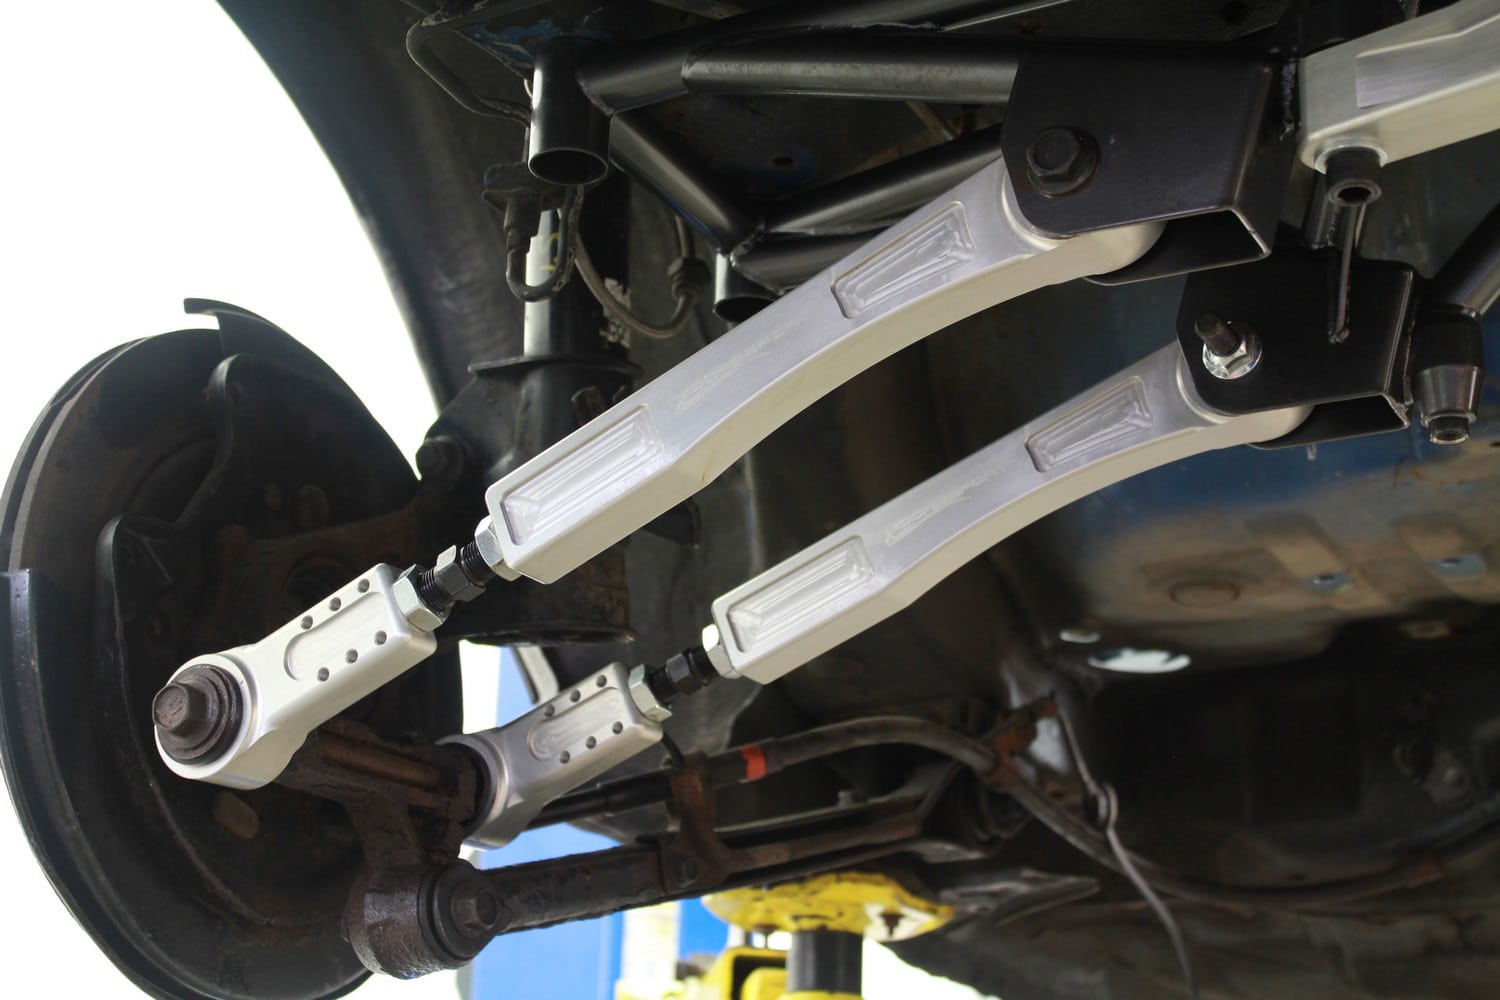
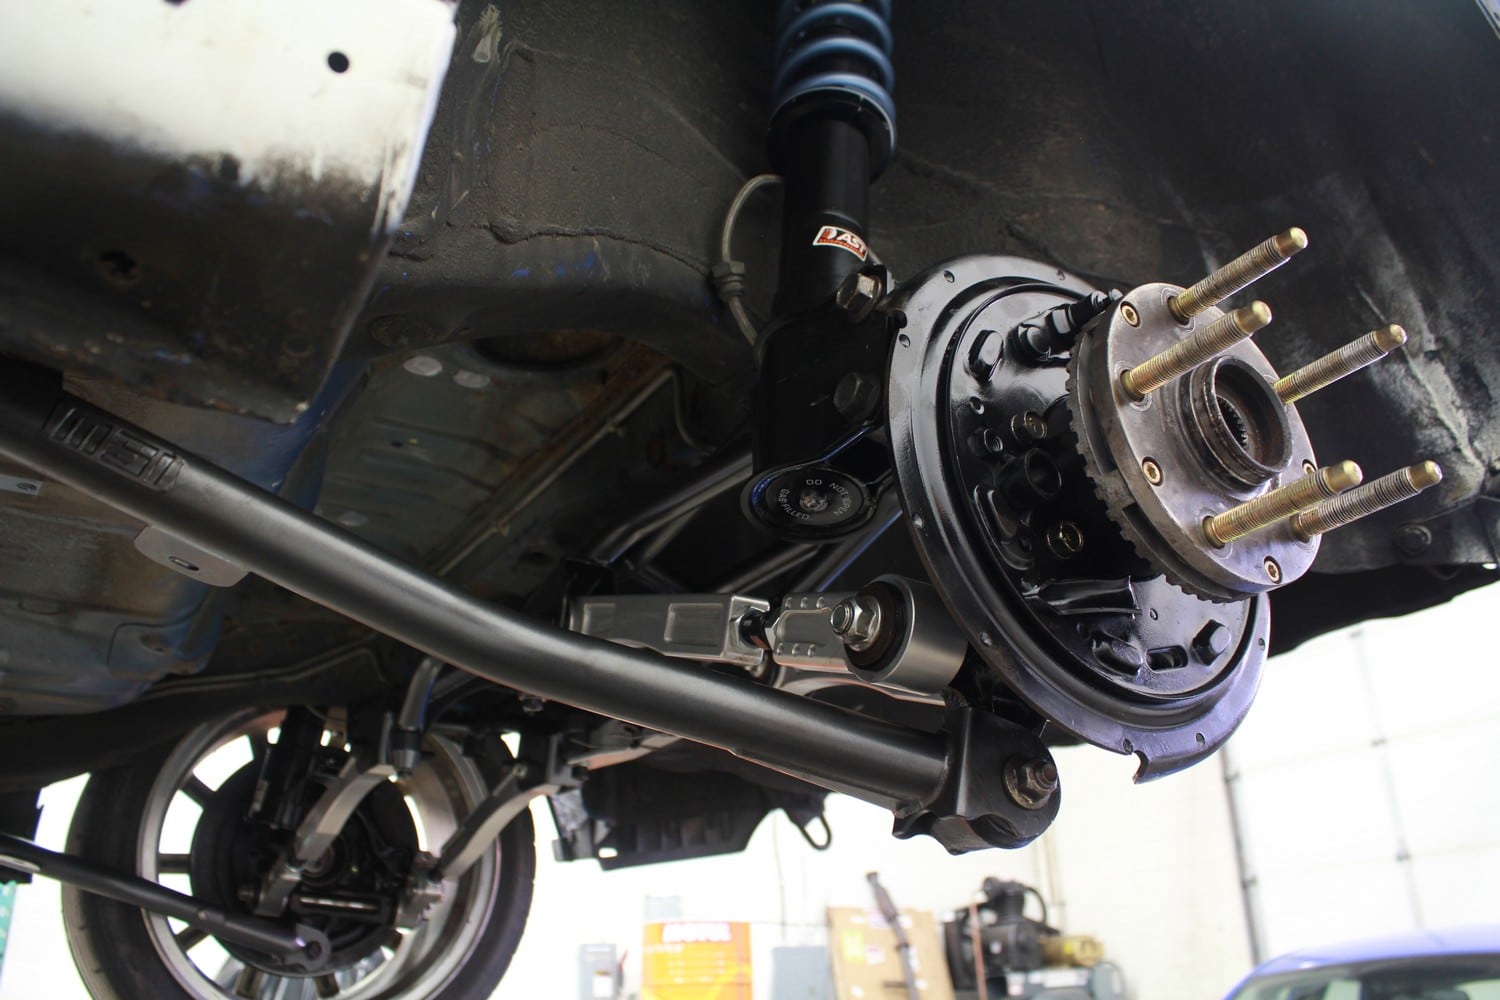
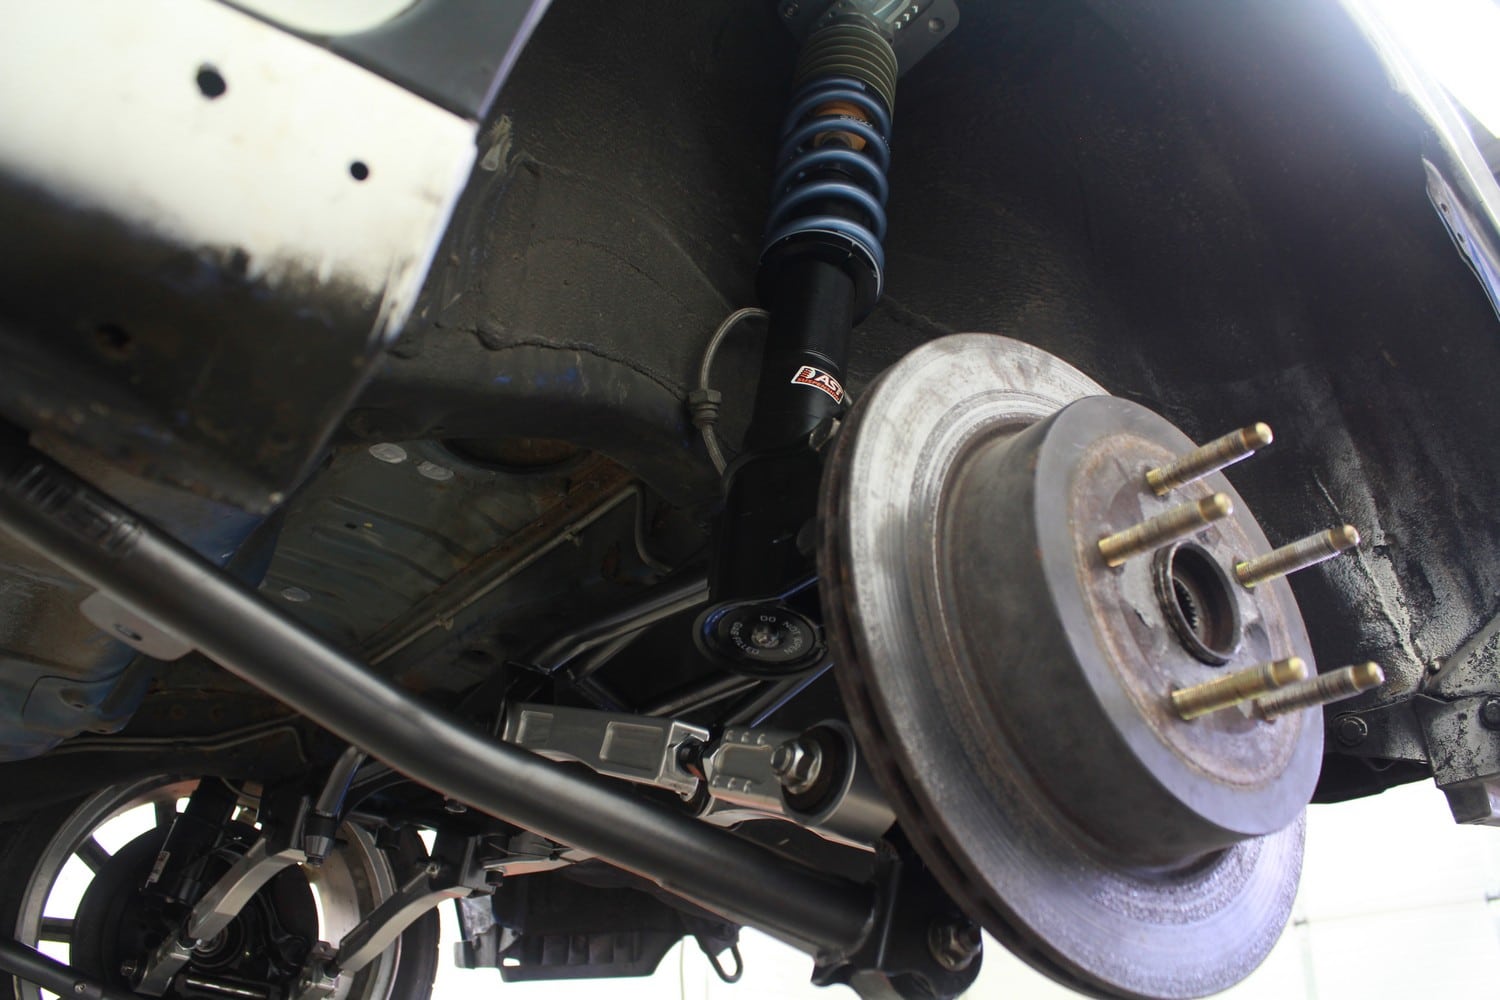
- Mooresport N12 Front Lower Control Arms - Mooresport
- Mooresport Motorsports DSS Kit - Mooresport
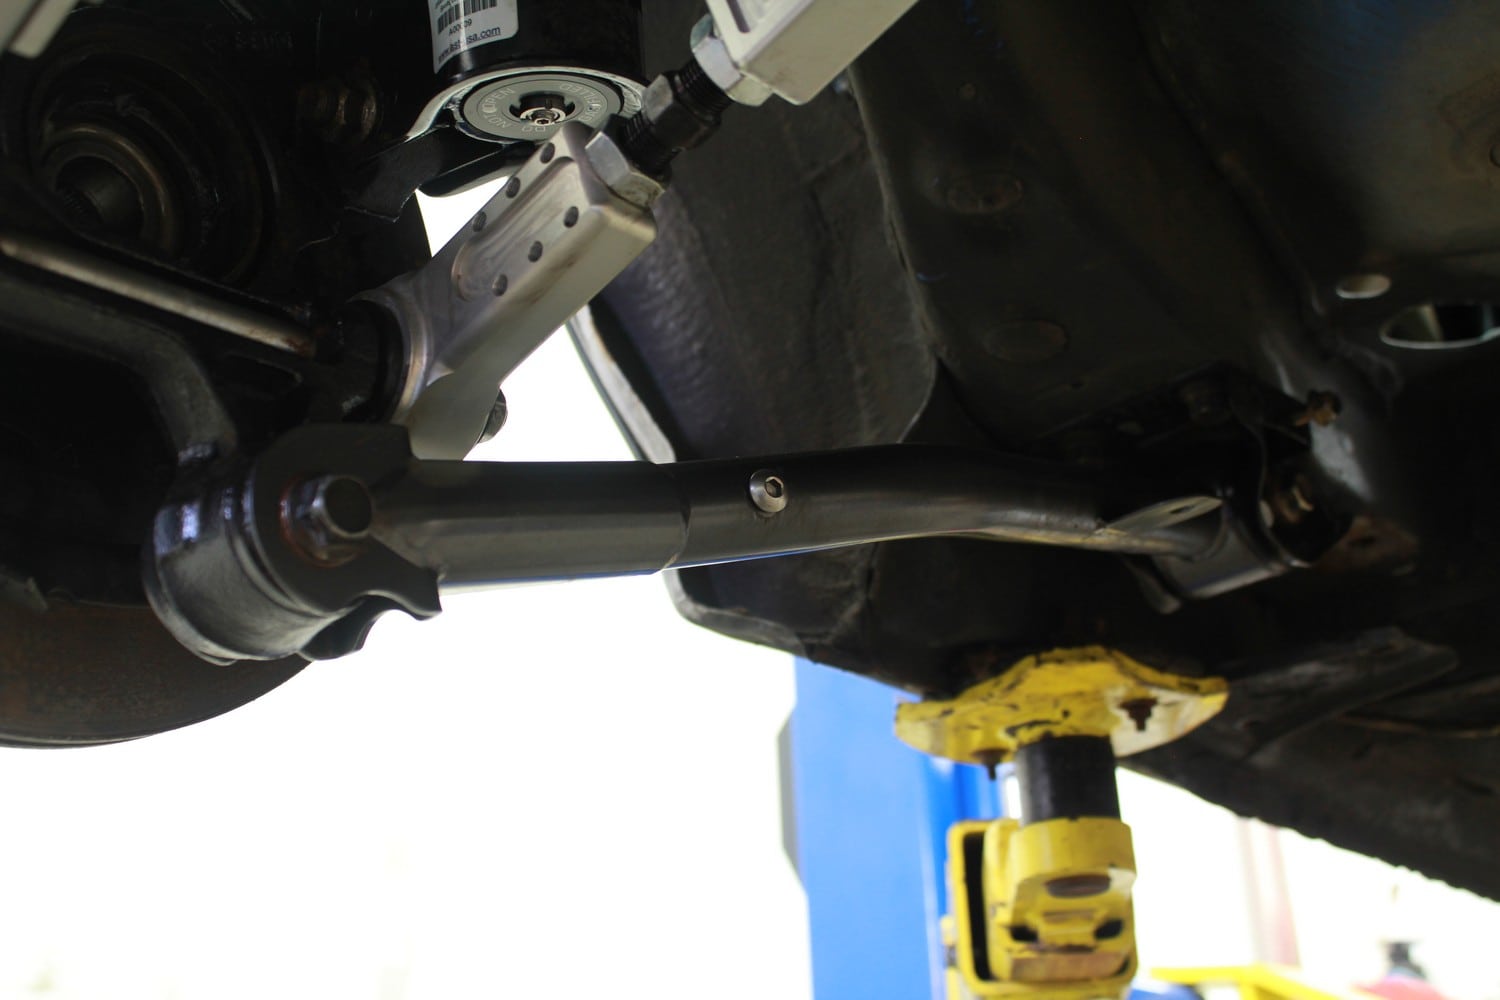
- Whiteline KCA313 Roll-Center/Bump Steer Kit - Whiteline
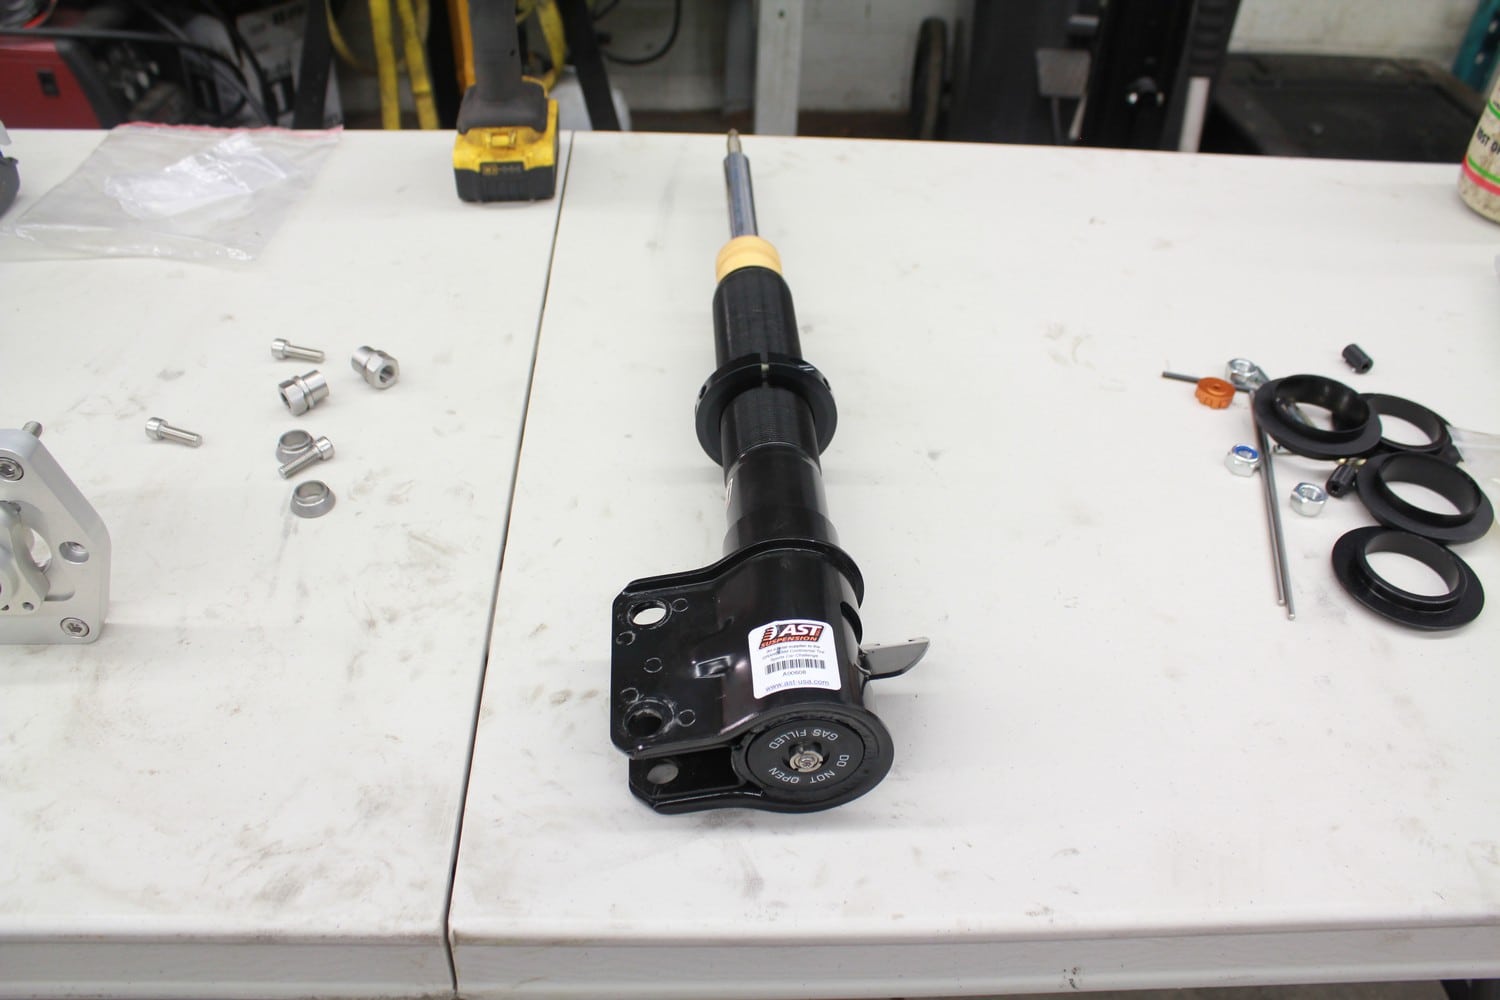
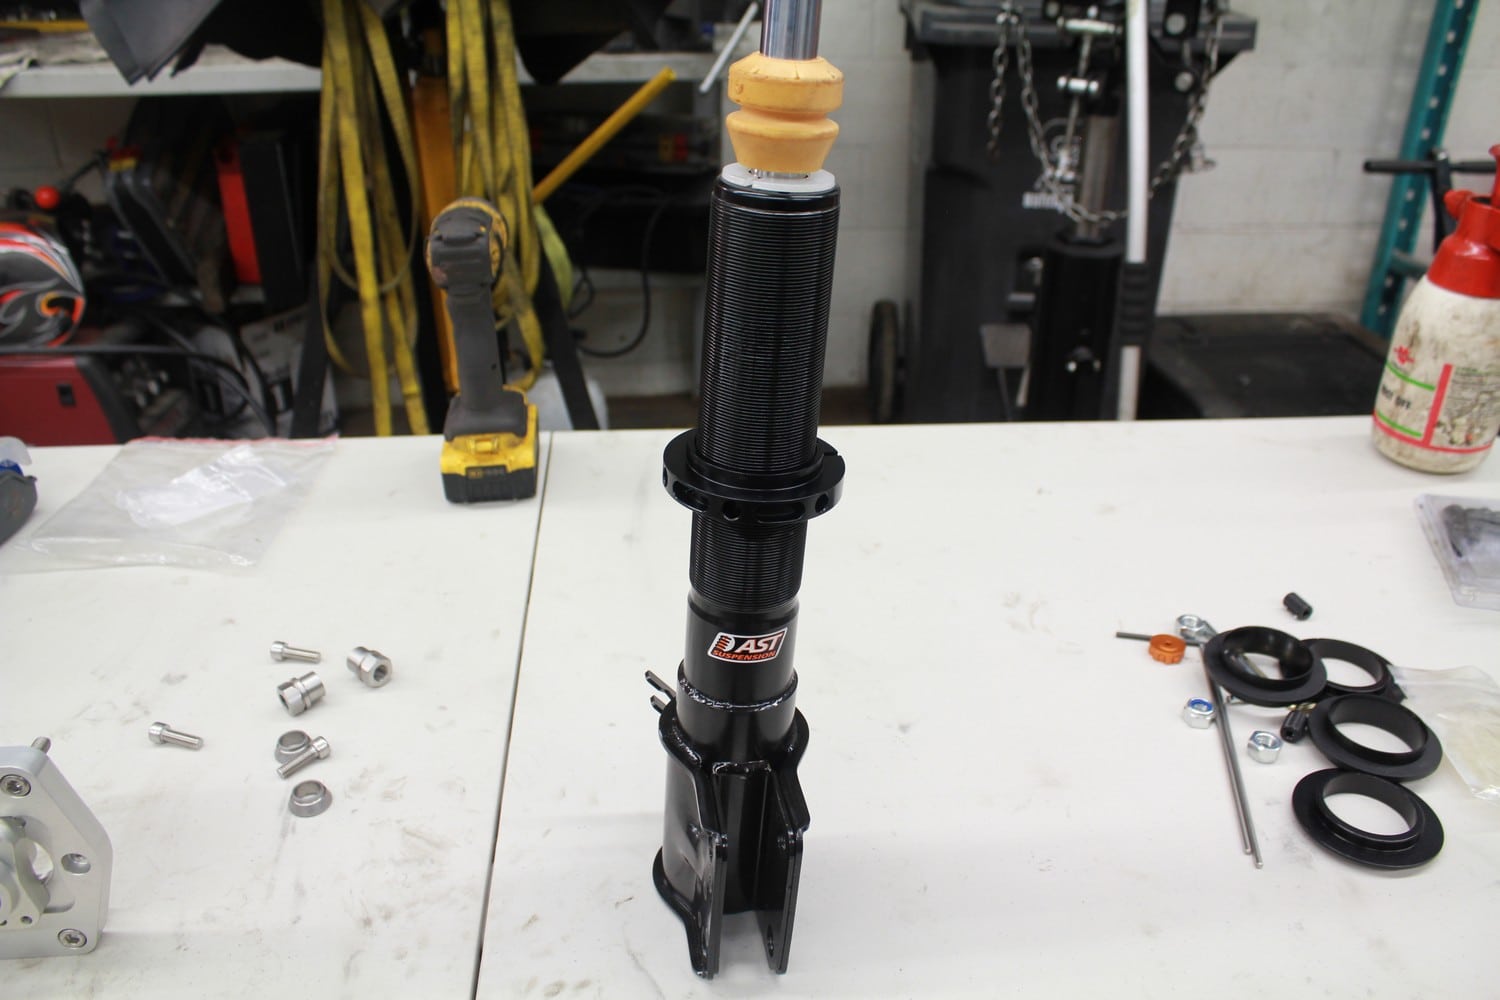
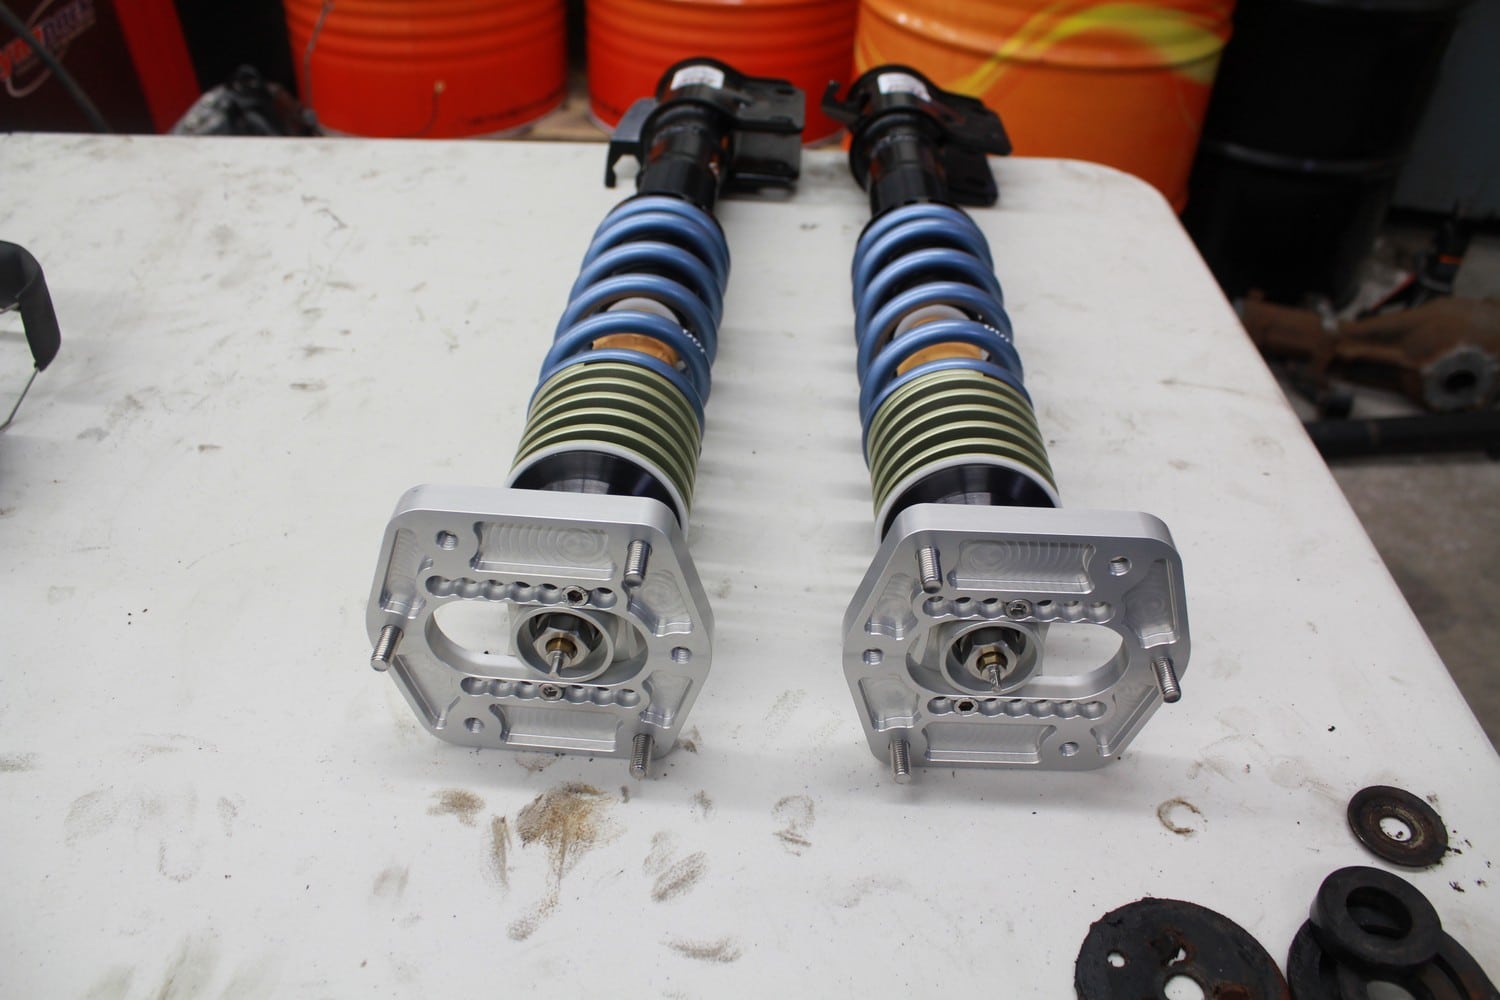
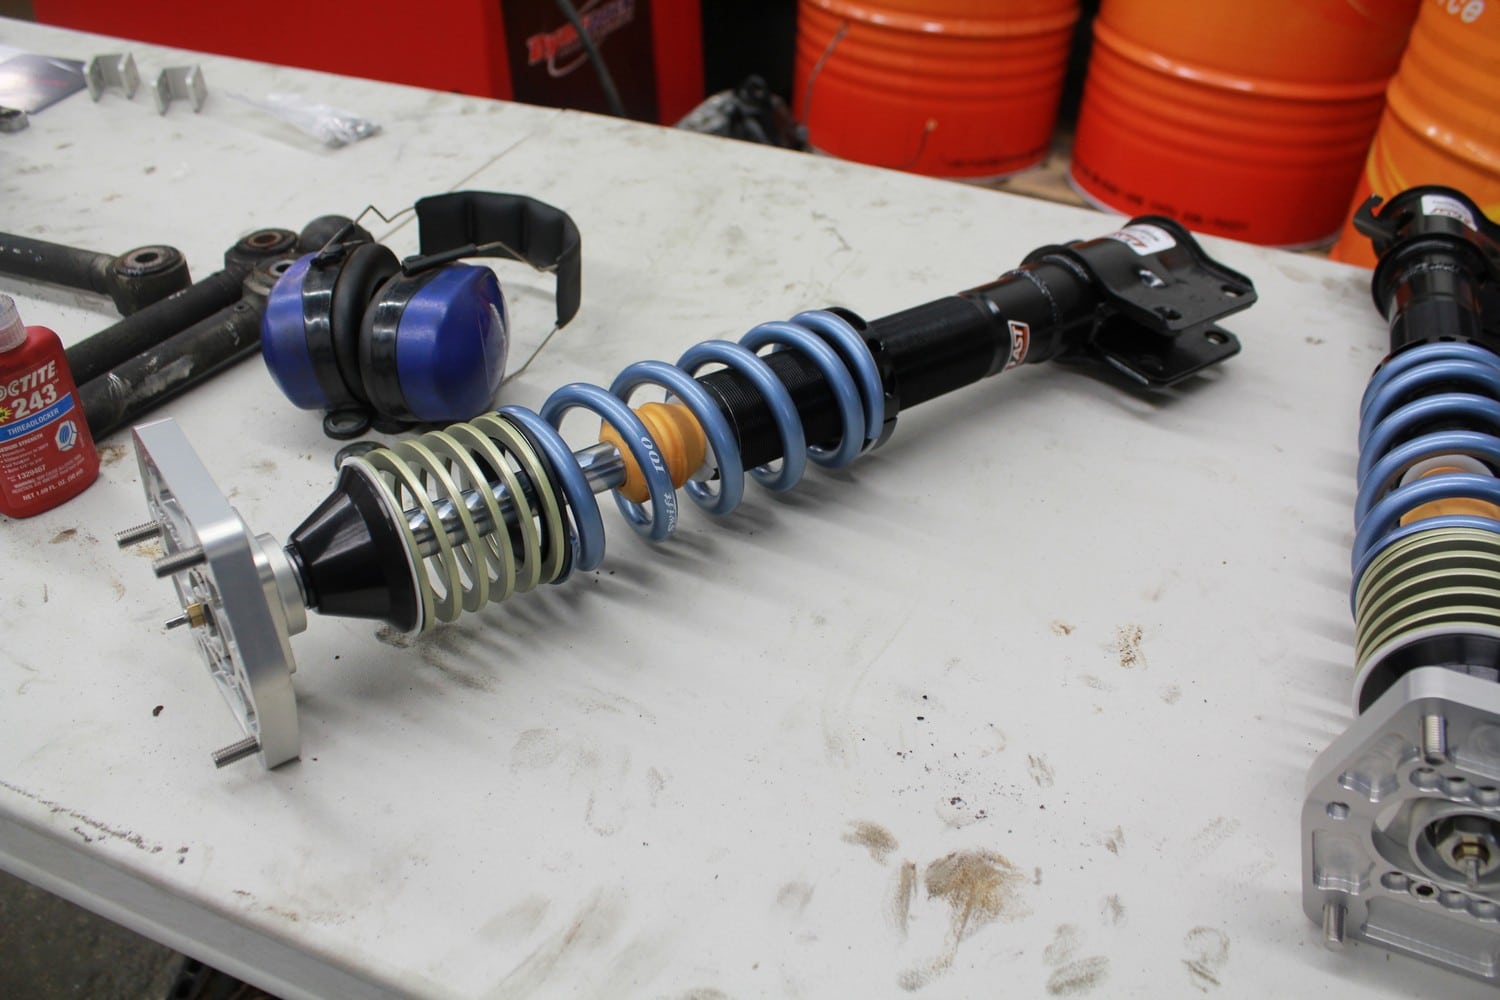
- AST 4150 Series 1-Way Dampening Coilover - AST-USA
- Swift Coilover Springs - Swift Springs
- Swift Helper Springs - Swift Springs
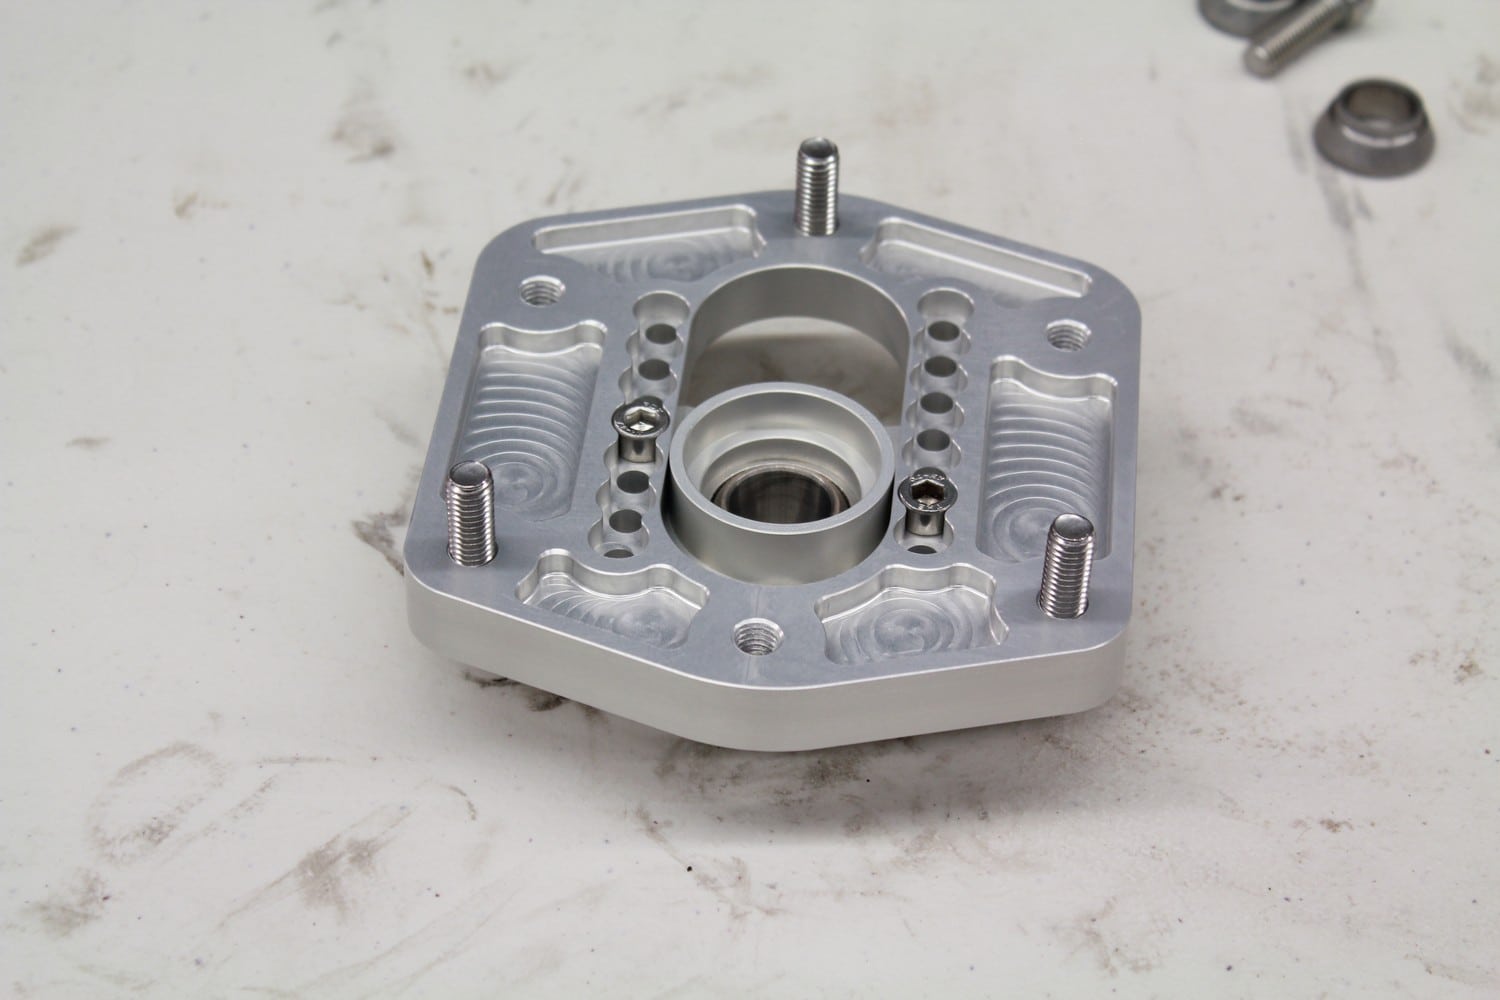
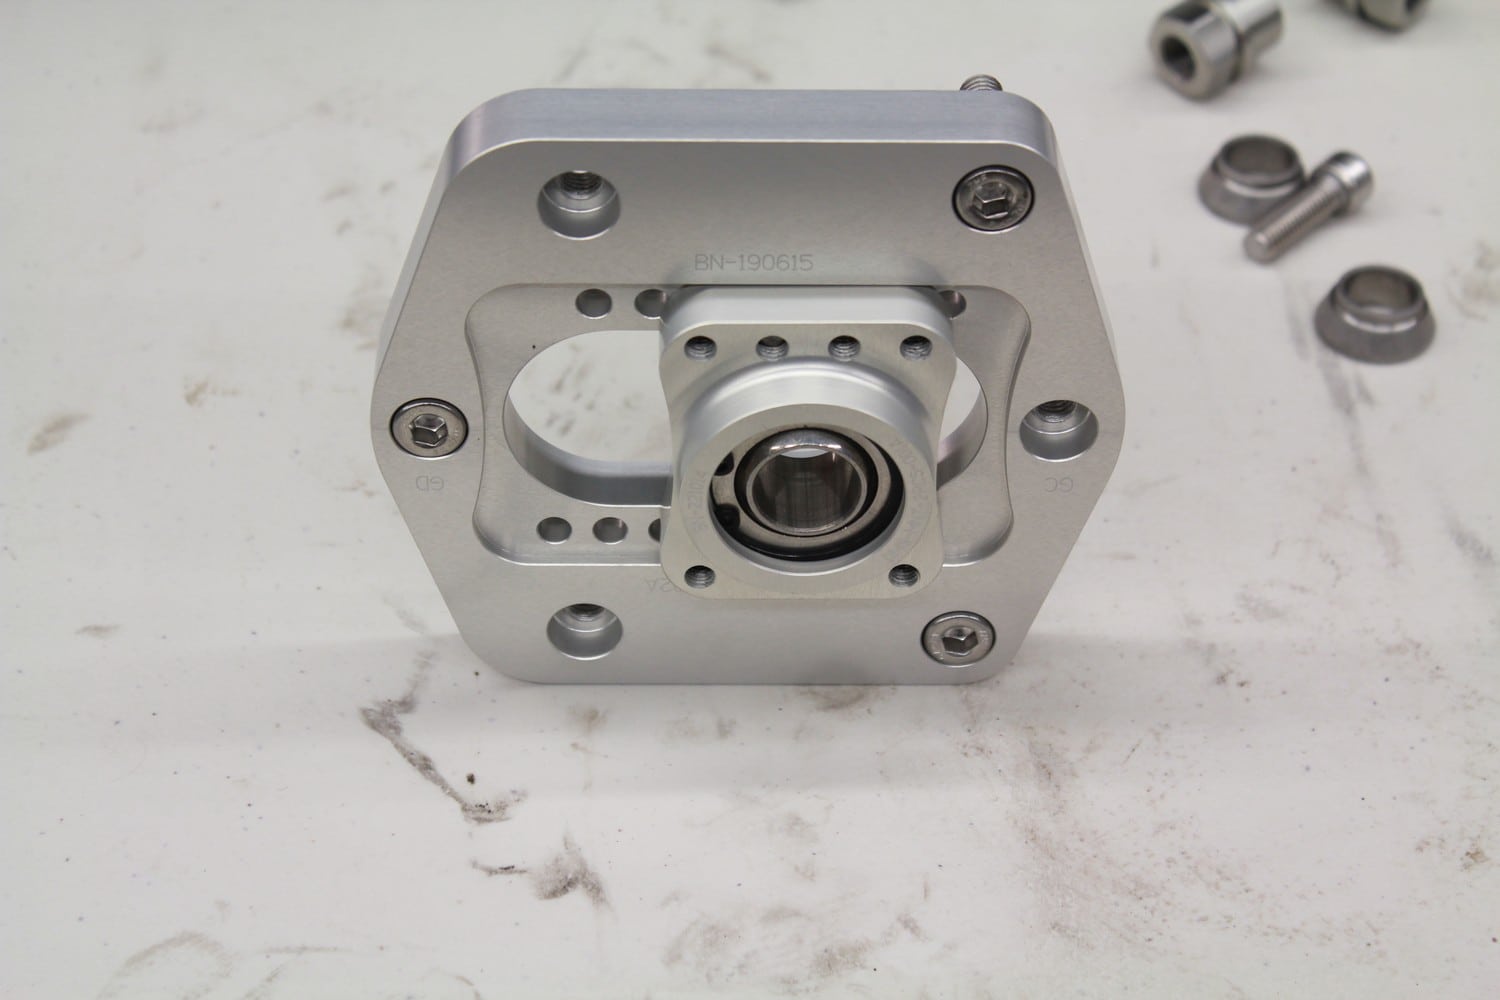
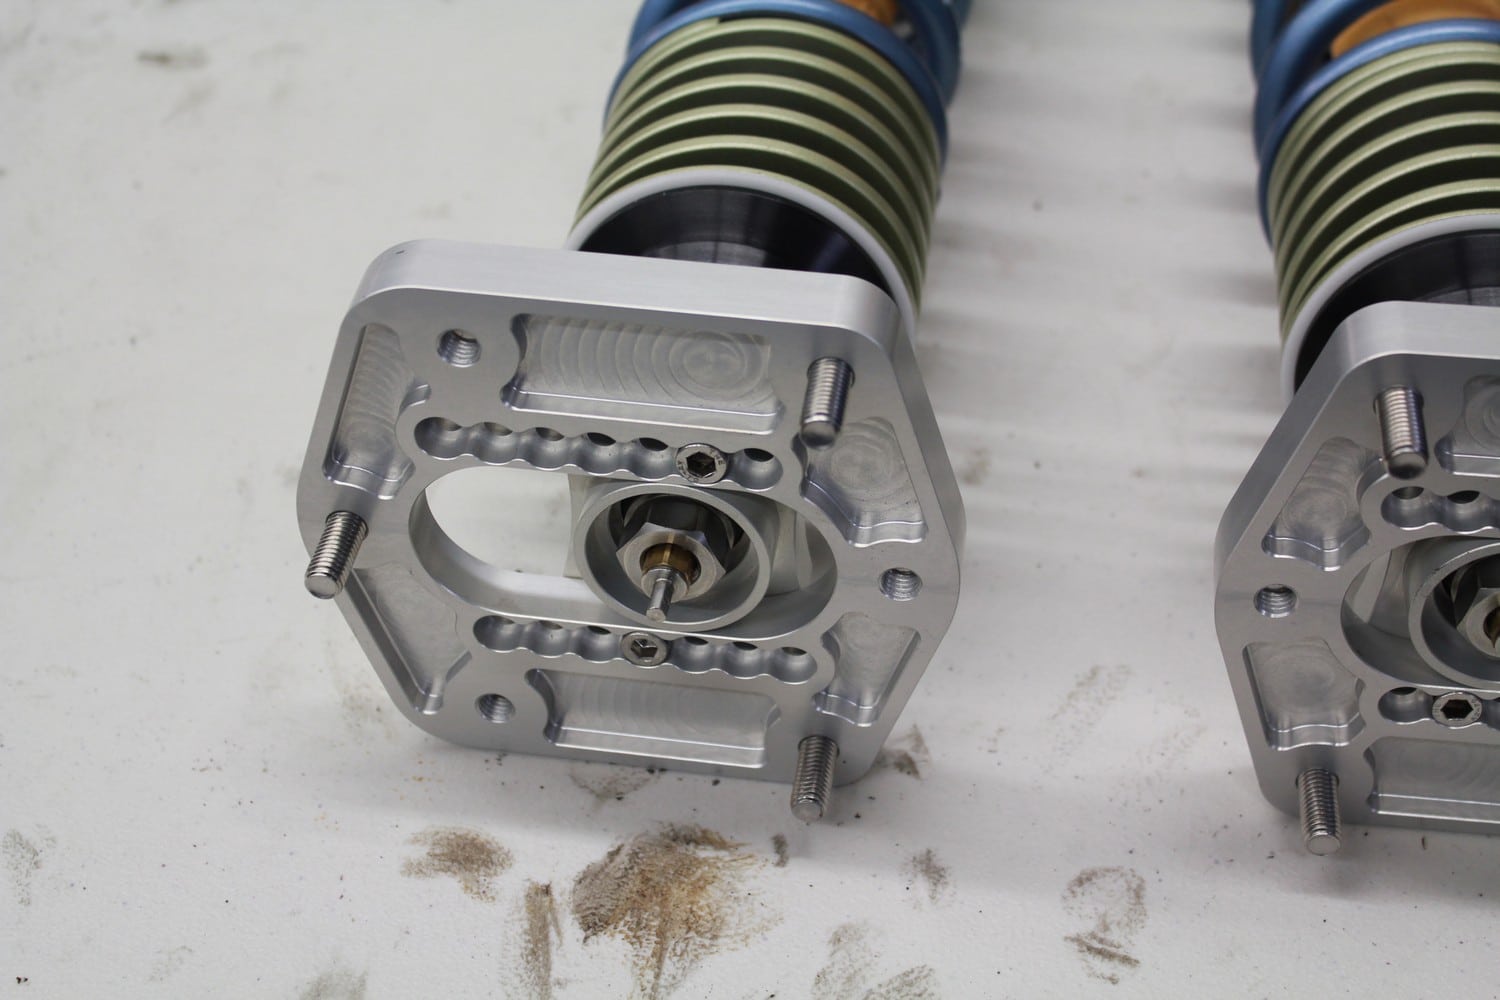
- Mooresport Street Front Camber Plates - Mooresport
- Mooresport Motorsports Rear Camber Plates - Mooresport
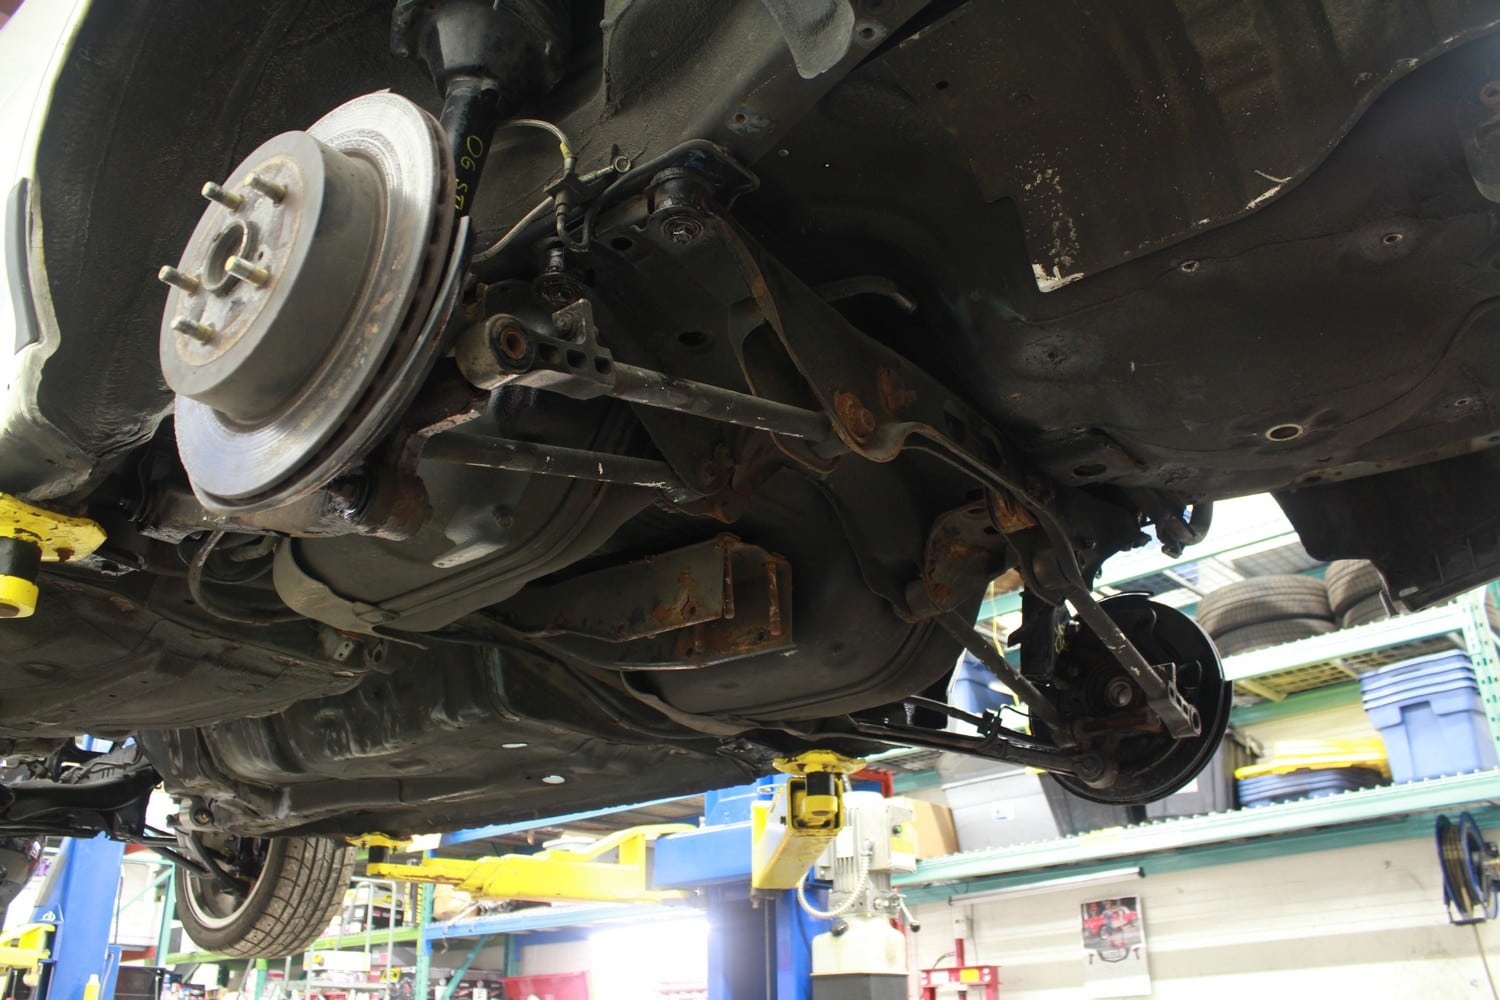
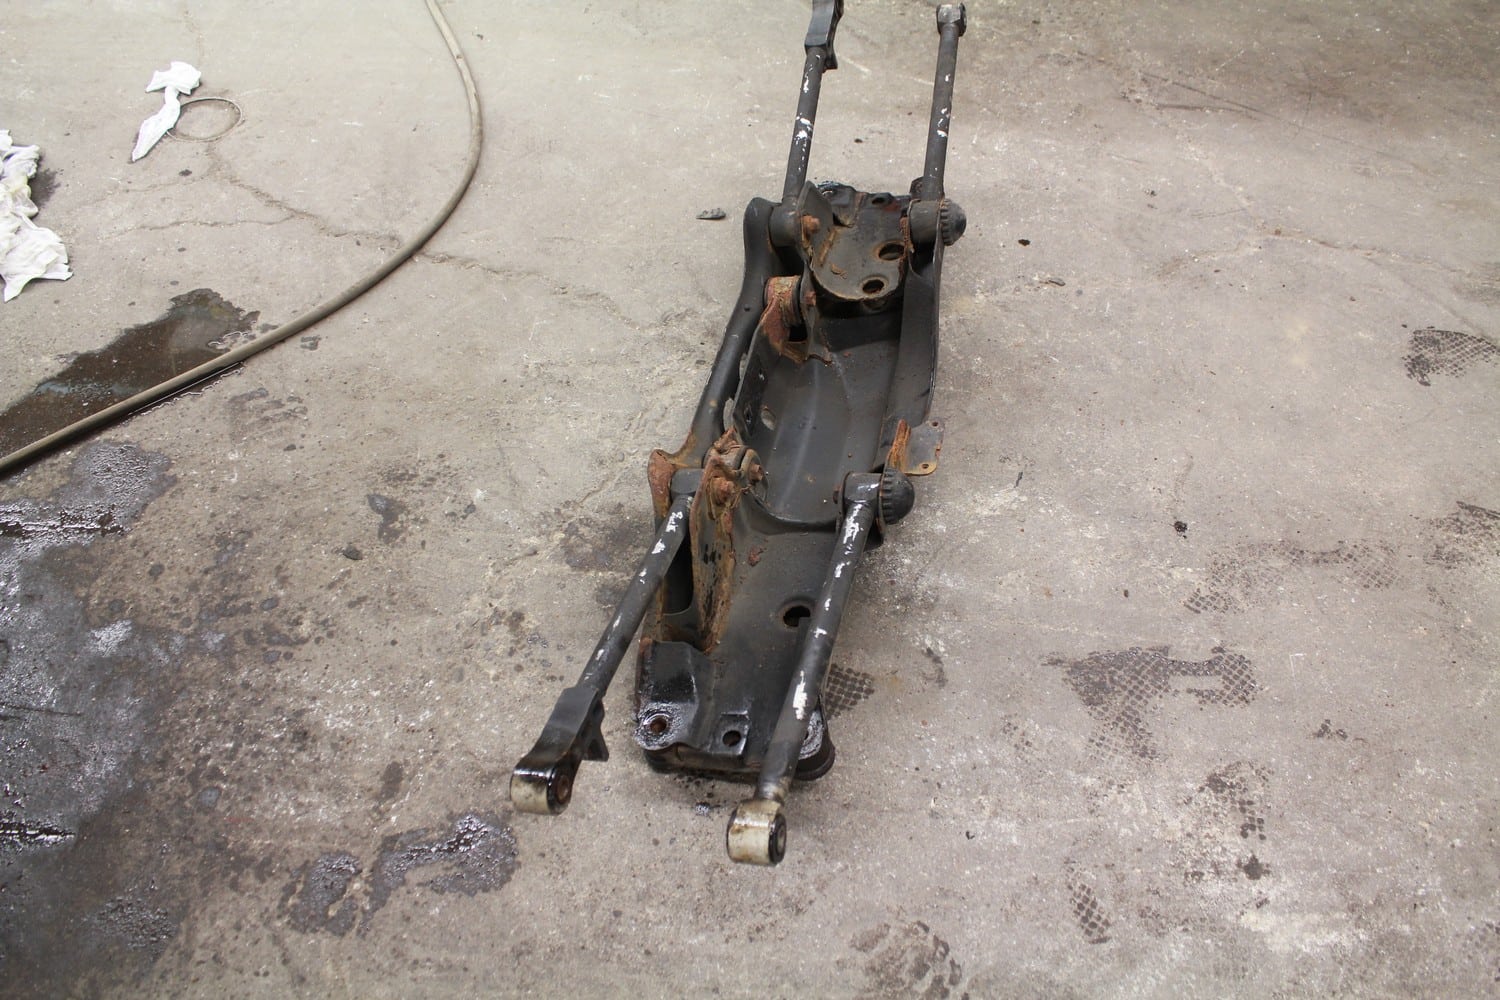
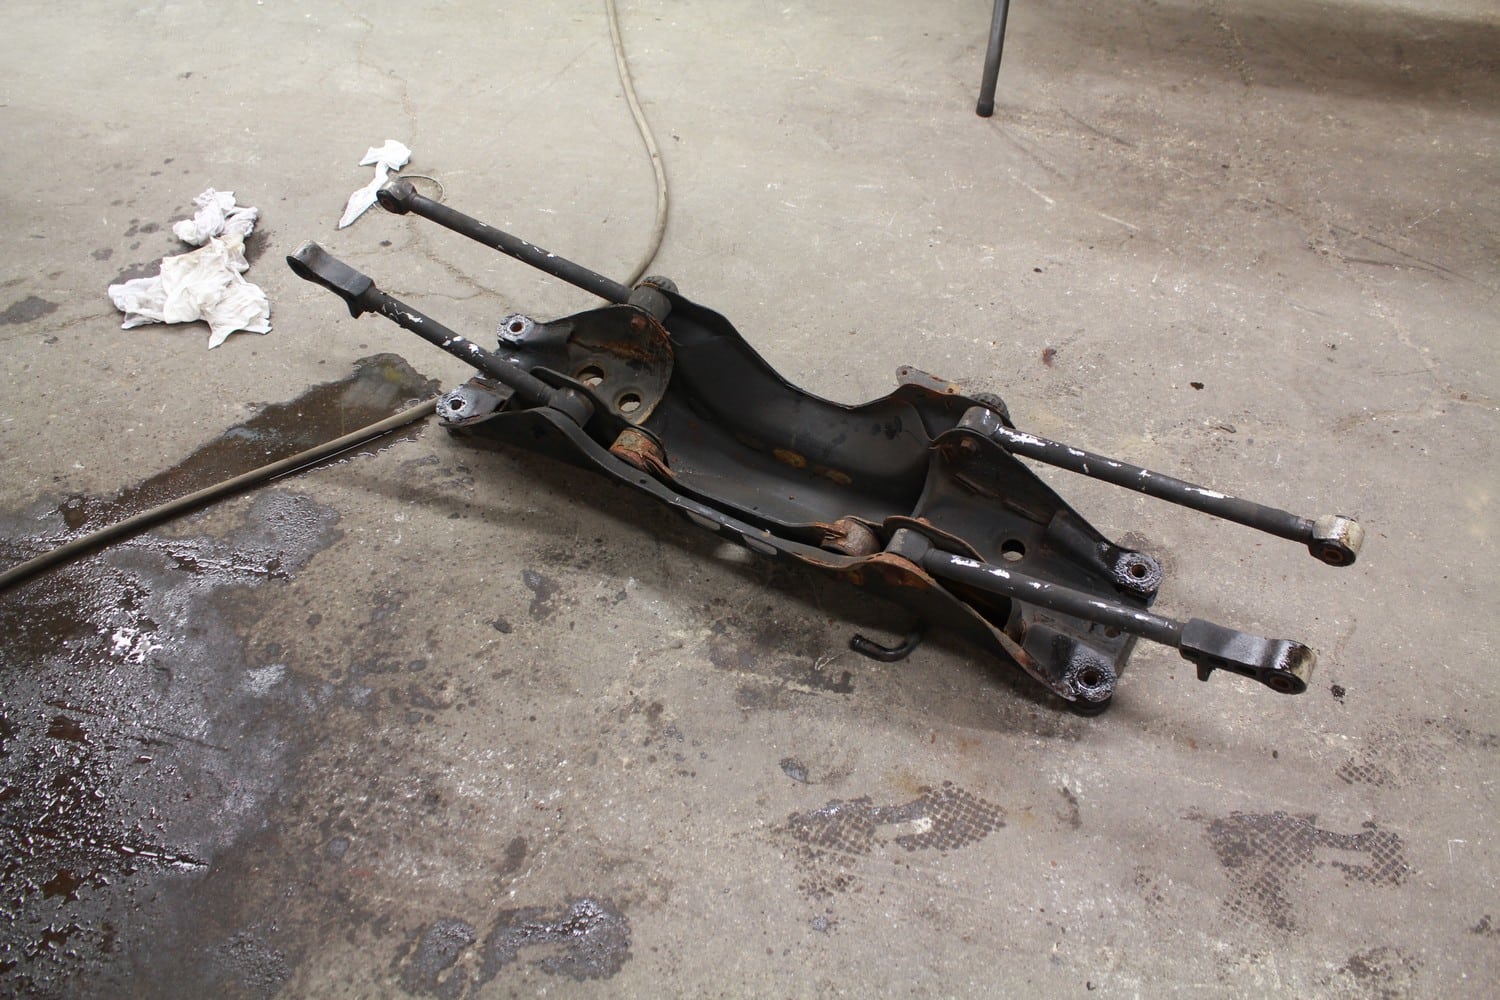
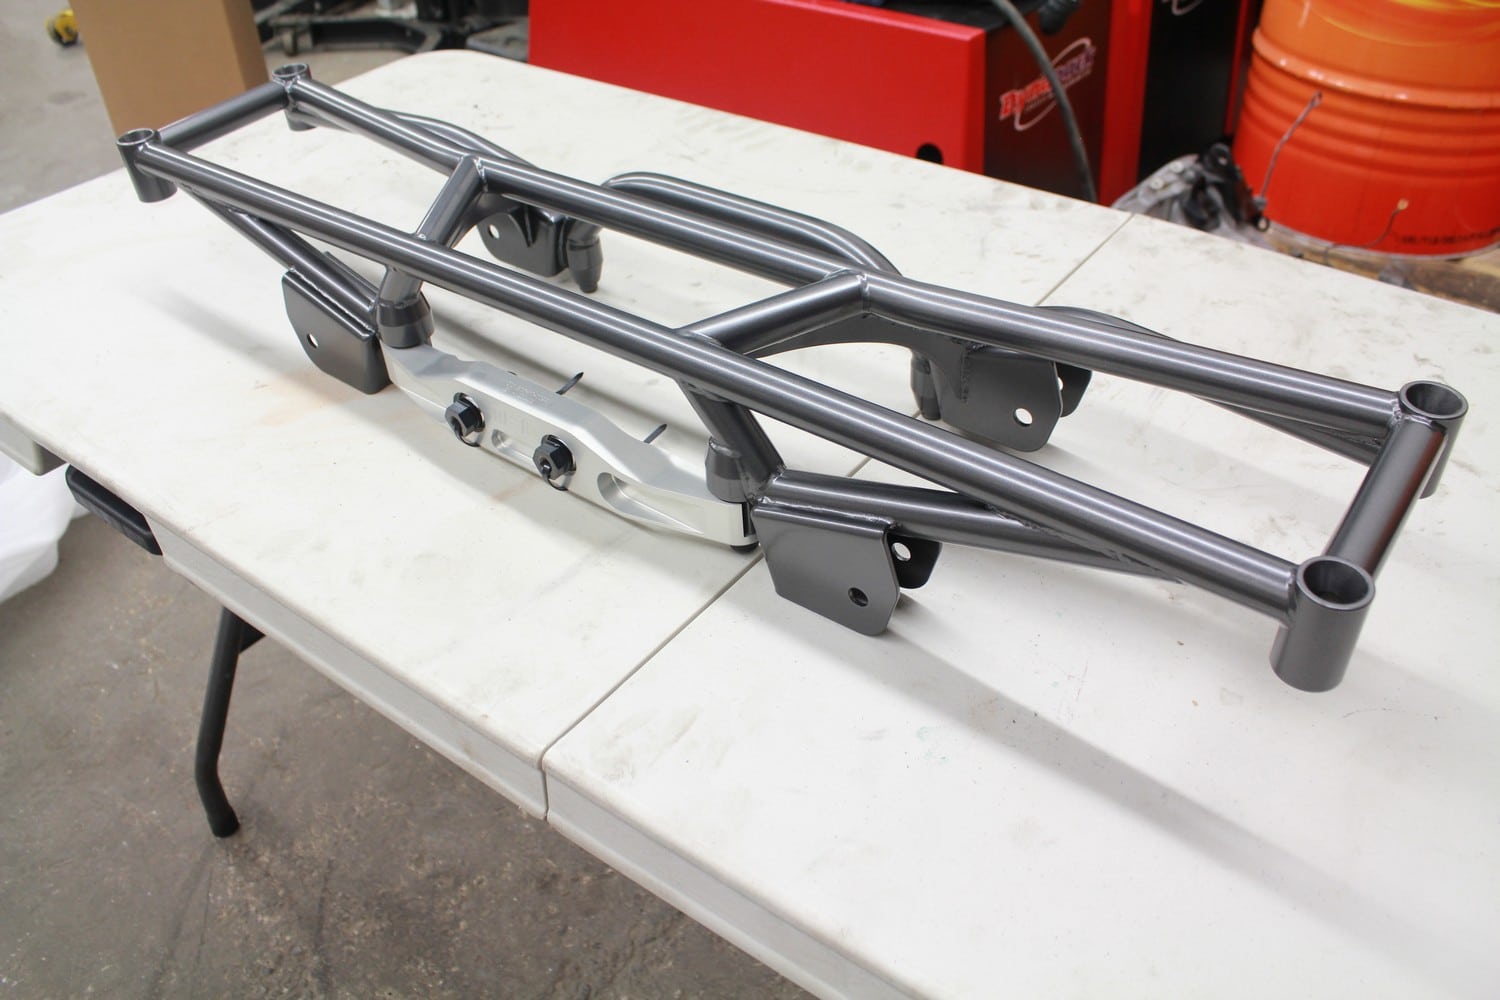
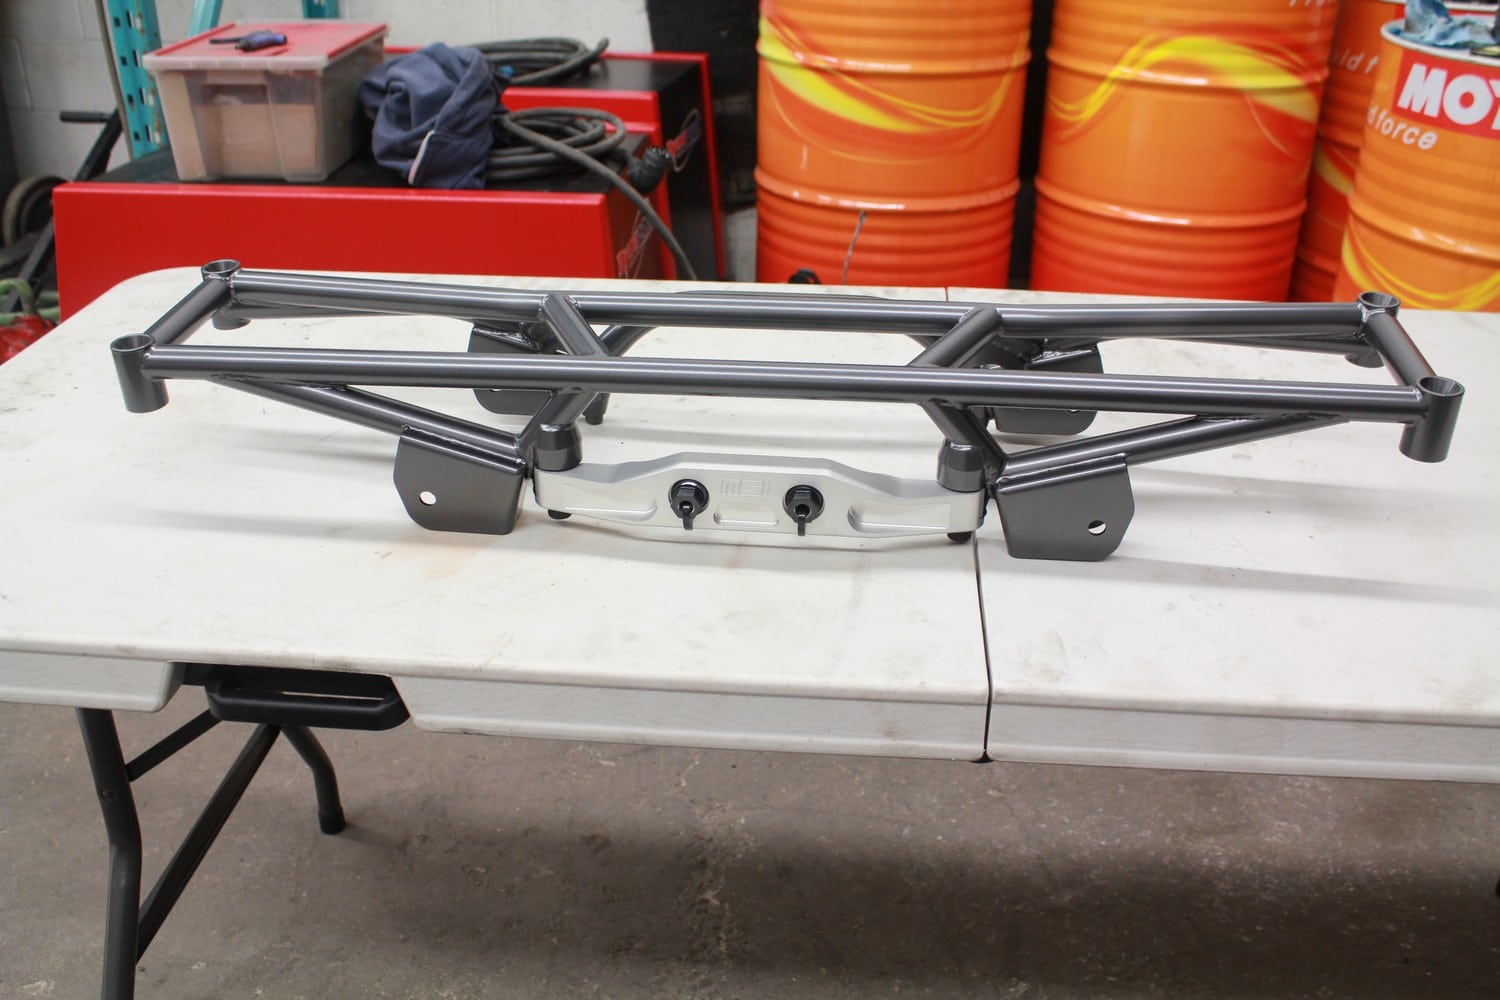
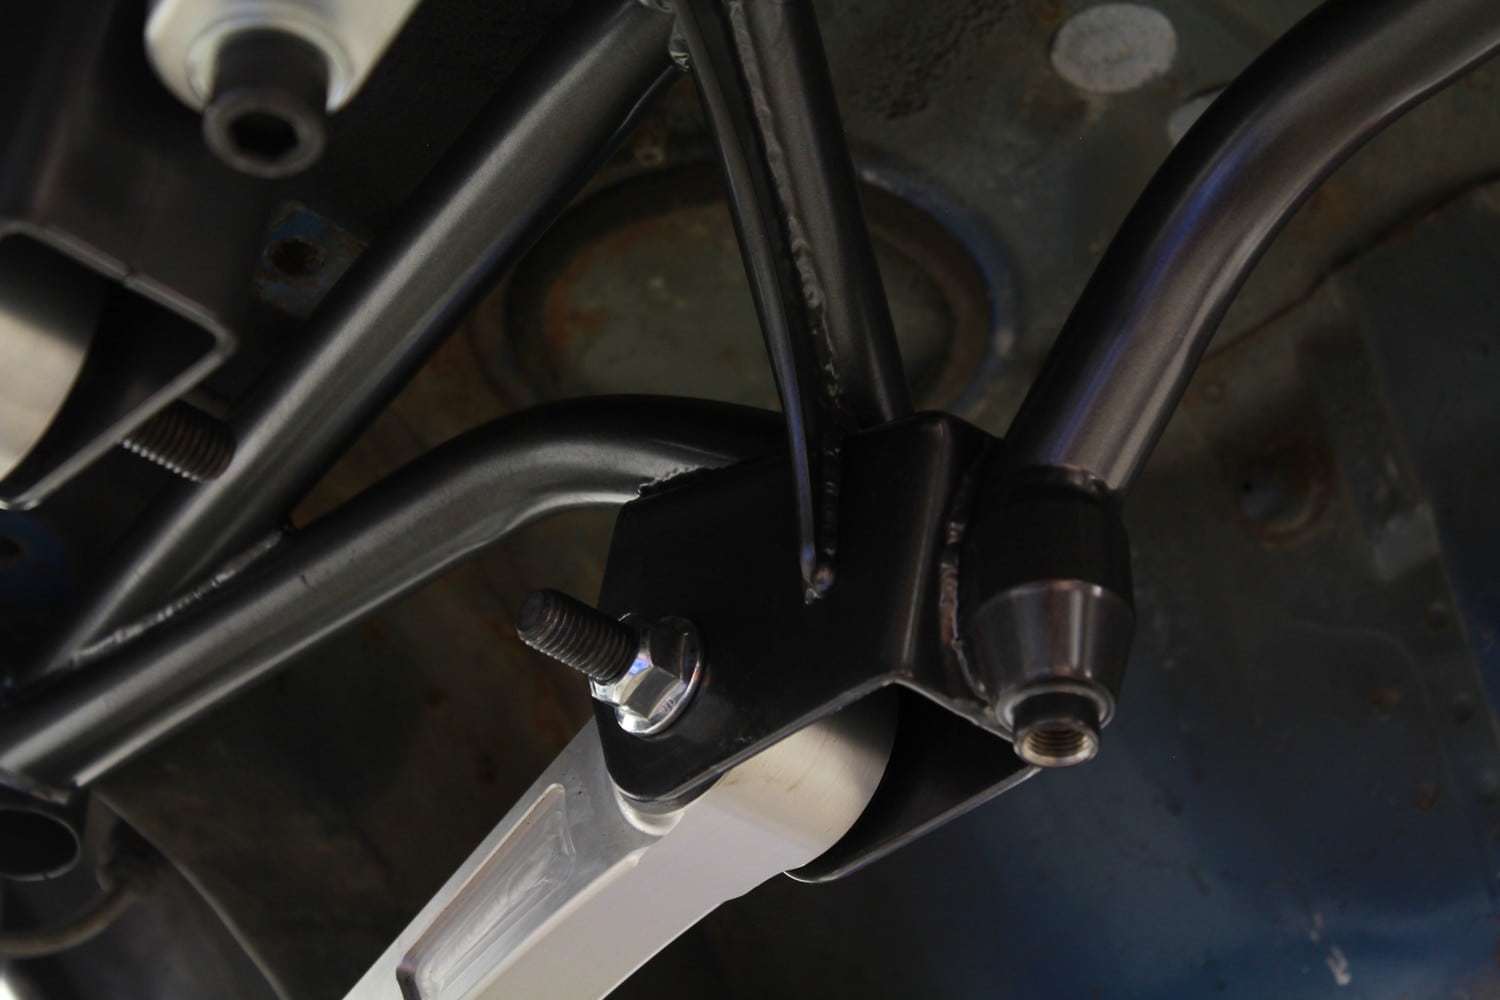
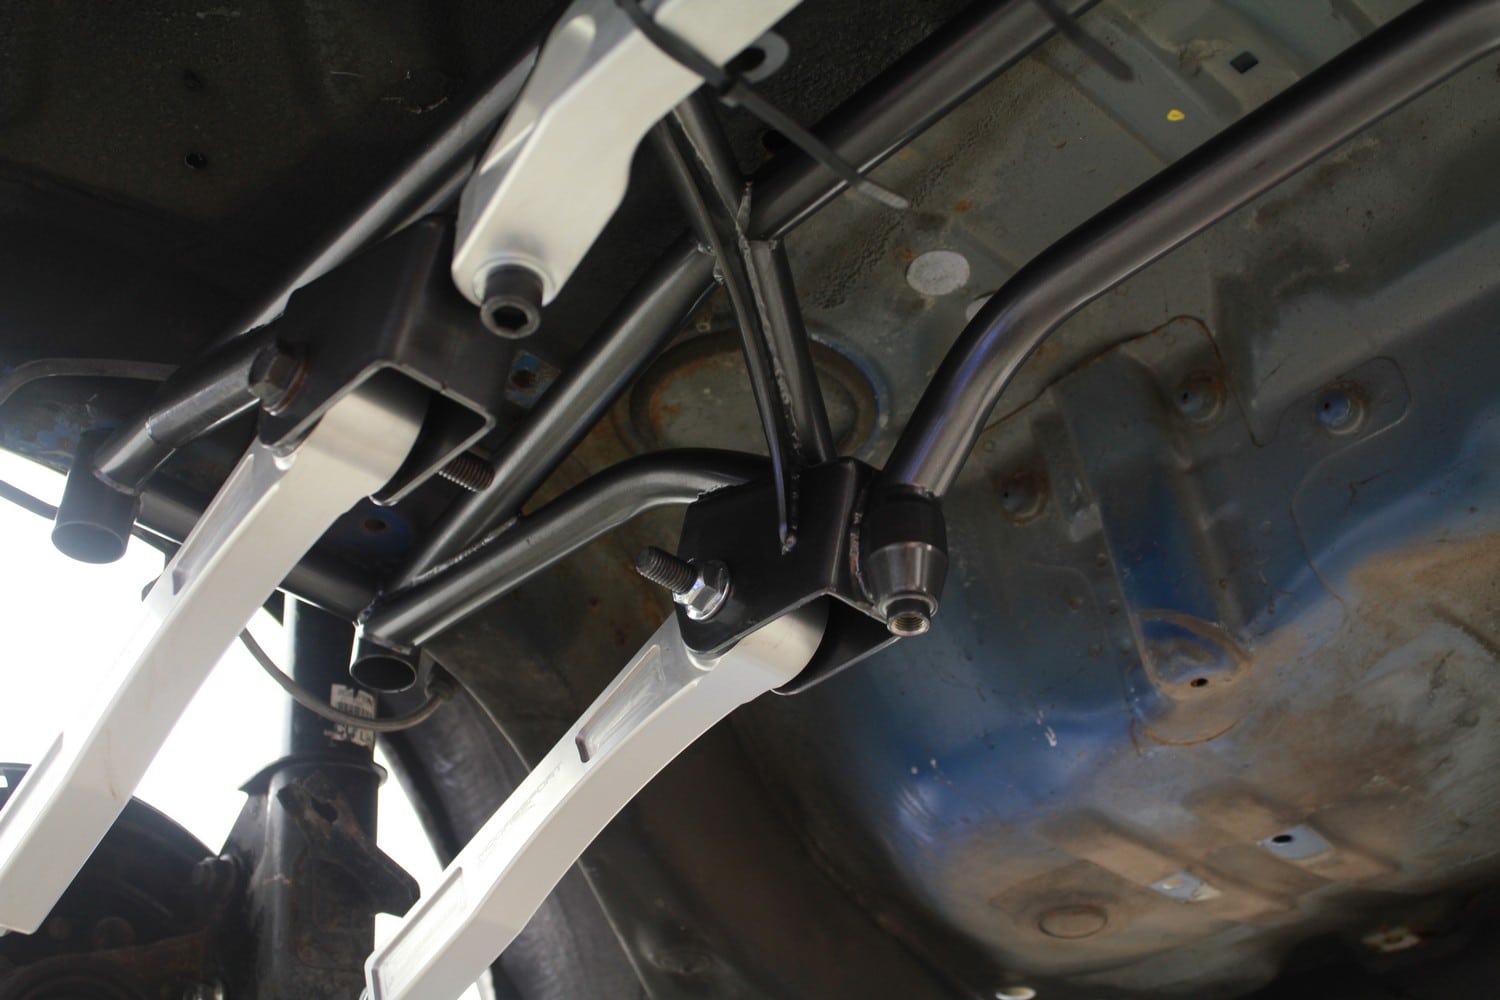
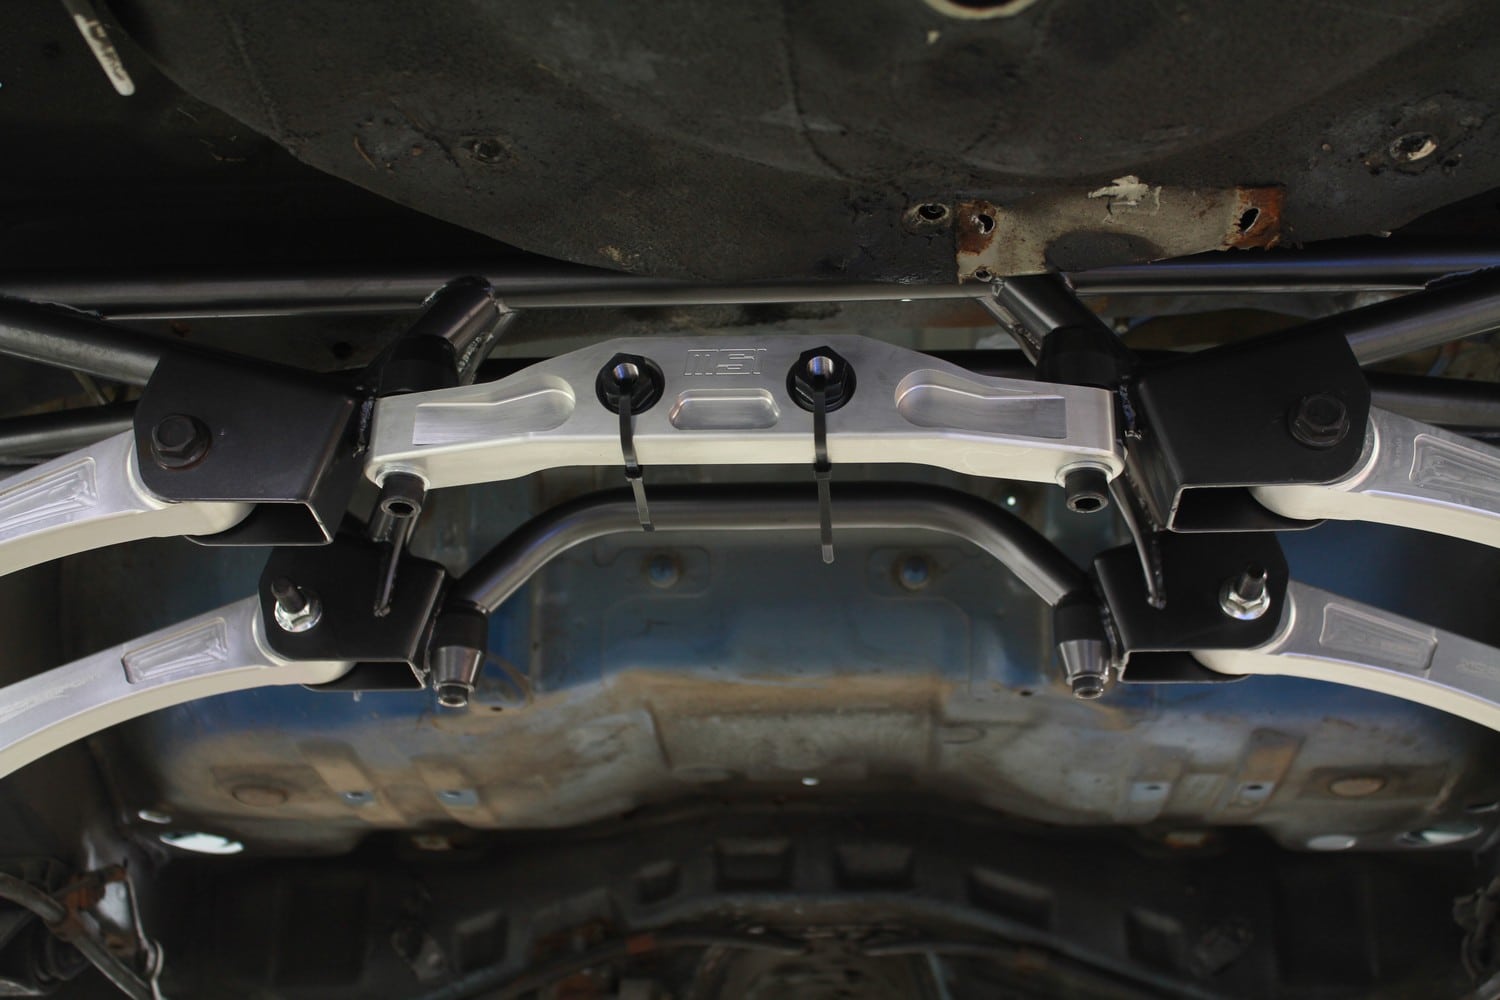
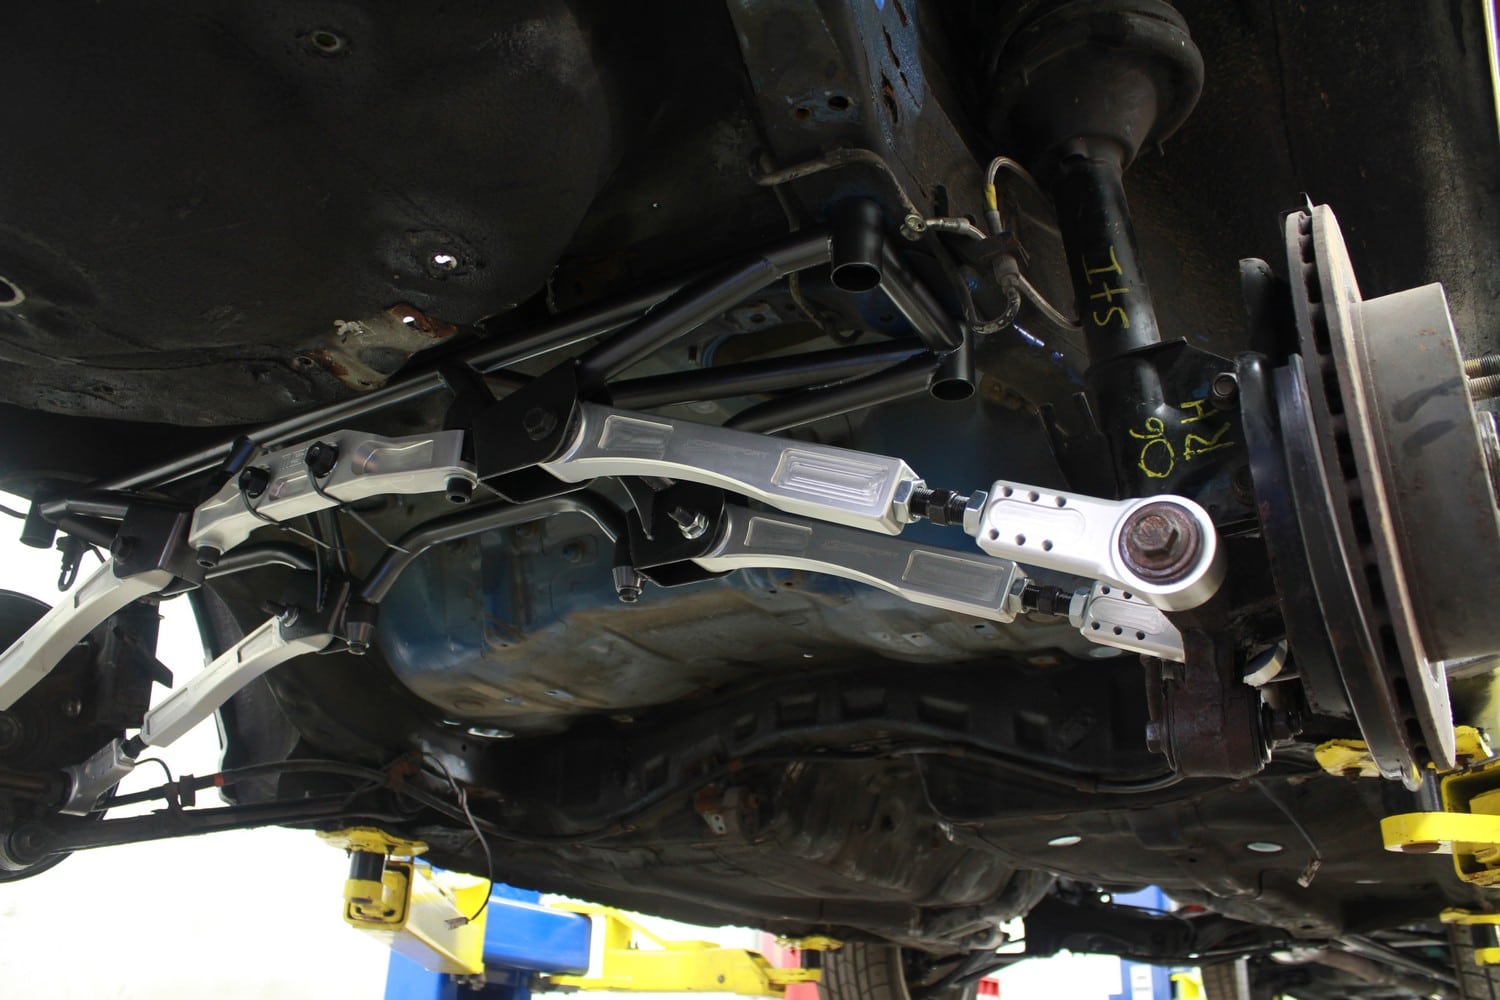
- Mooresport Circuit Version Rear Subframe - Mooresport
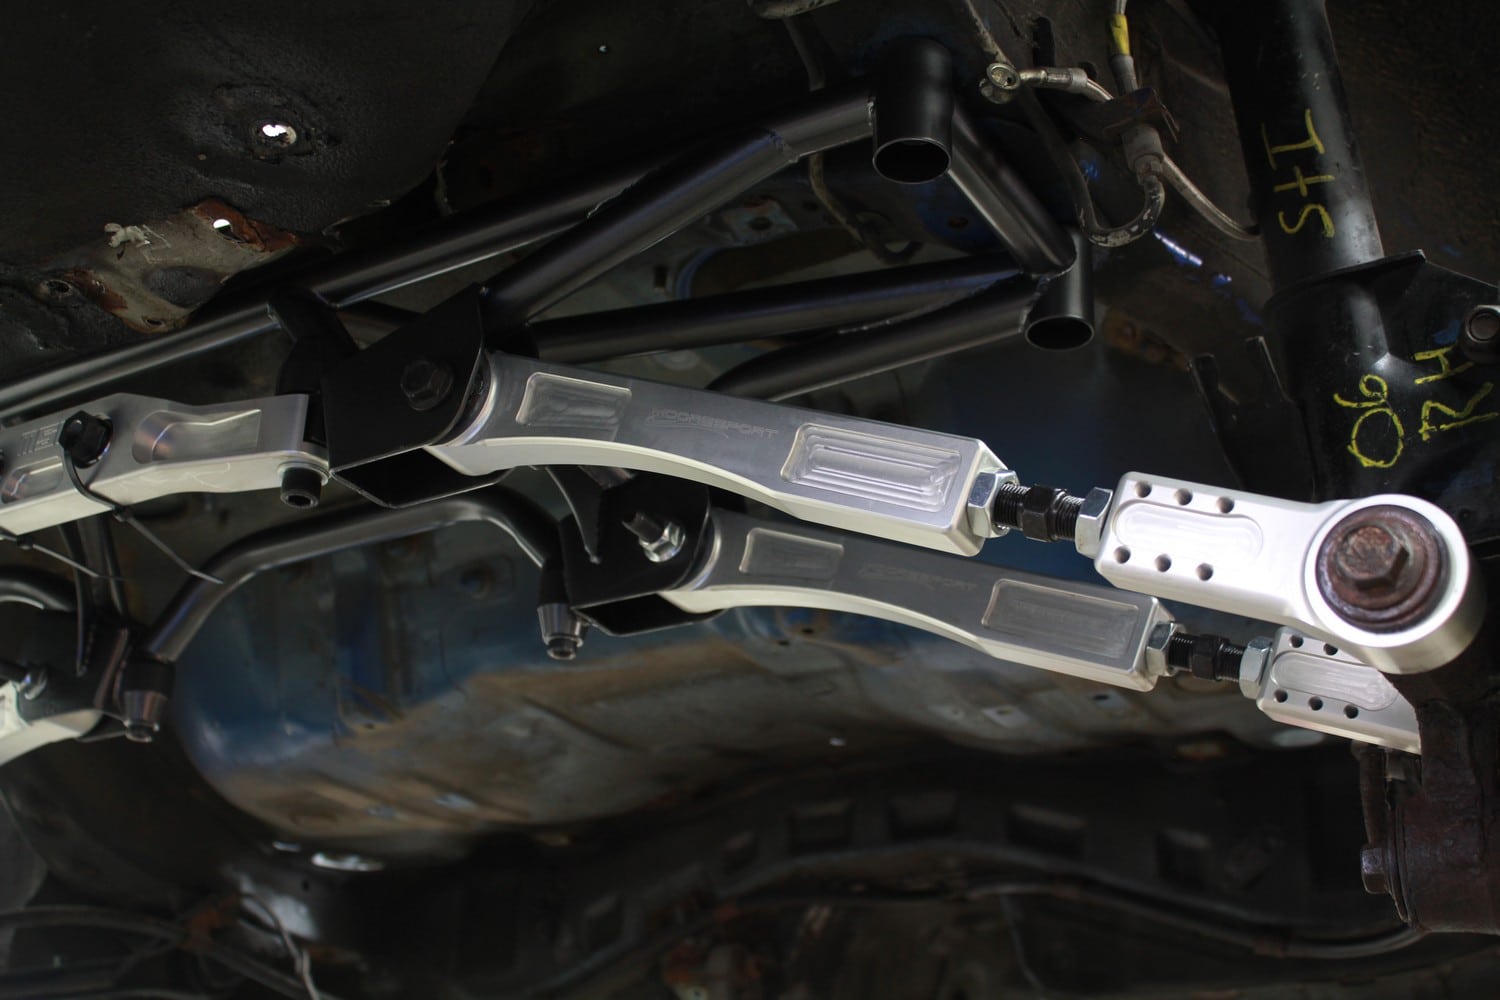
- Mooresport Billet Rear Lateral Links with Bushings - Mooresport
- Mooresport Rear Lateral Links 2" Correction - Mooresport
Wheels & Tires
- ARP Extended Wheel Studs
- Powdercoated Front Knuckles - Stripping Technologies
- Removed Full Interior, Sound Deadening, HVAC System
- Custom Gold Painted Roll Cage with White Interior - Uni-Body Collision
- Engine Bay Painted Low Gloss Black - Uni-Body Collision
- Stitch/Seam Welded Chassis - Rally/Race Developments
- Full Roll Cage - Rally/Race Developments
- Welded in Seat Mounts - Rally/Race Developments
Rally/Race Developments
Uni-Body Collision
Mooresport (MSI)
AST-USA
Swift Springs
Whiteline Performance
Stripping Technologies