
------------------------------------------
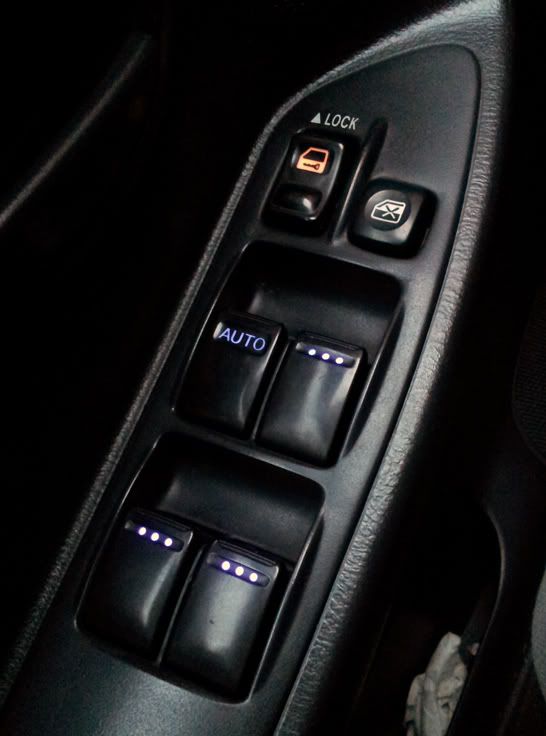
Our window switches (02's anyway) do not come with any backlighting so they are hard to see at night. The driver window switch has a small green LED but it's way too dim. This DIY will fix this problem.
Final product:
This is a relatively easy mod if you already know how to wire LEDs. I’m not going to explain it, there is a ton of info on the subject all over the web, google is your friend. Use this page if you're not sure of the wiring. Remember the source voltage when your car is on will be 14.4V, not 12.
Tools needed:
Phillips screwdriver
Small Flathead or panel popper
5 LEDs (any color) + proper resistors and wiring
Wire strippers
Small drill bit (this will decide the size of the dots on the switches)
Hole punch or needle
Small flashlight
Electrical tape
Hot glue gun
Optional:
Dremel
Sandpaper (the finer the better)
Krazy Glue or clear nail polish
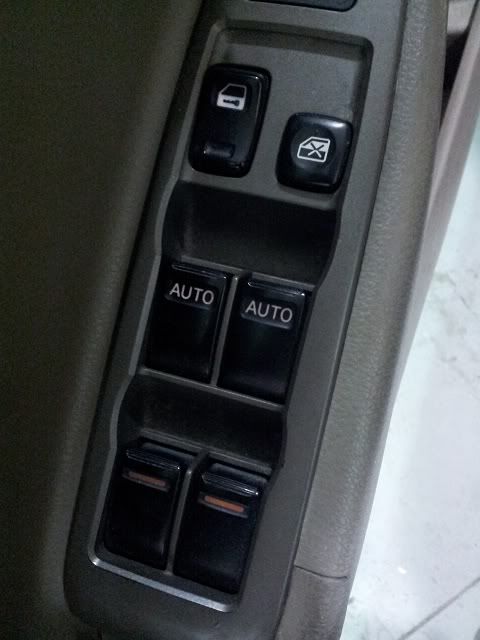
How this will work: the switches were engineered and built by Nissan with the intention of having an led light them up; there might be a Subaru model out there with those lights working from the factory. As i was writing this up i had an 02 Altima in the shop and this is what their version of the switch looks like.
Technically you could buy the Altima switch assembly and just plug it in, but that might get expensive. There are two things you will have to do in order to get this working: install LEDs under each switch, and on the passenger window switches you will have to drill small holes in order for the light to shine through. The driver window and the lock/unlock switches are already done for you, just add LEDs.
I don’t have pictures for every step because this wasn’t originally going to be a DIY, but I’ll explain it the best I can. I went back afterwards for extra pictures.
Step 1: Remove the driver side window switch panel. There is a Phillips screw hidden in the handle pocket next to it, take that out.

Pry up the pocket gently then pull towards the back of the car, the switch panel will come out too, it is only held by clips. Don’t unplug it from the door wiring just yet.

Step 2: Remove the switch assembly from the panel. Take out those 3 screws. You have to pry out the white part from the assembly; this is easier if it’s still plugged into the door. Use something flat to free it from the 4 clips, one at a time. It will come out, don’t worry no moving parts can fly out.

You can now unplug the assembly from the door wiring.
Step 3: Your are now left with a black and white piece with a green circuit board.

On the green board, you will see that single LED, its a small style flat square light (SMD). Cover that up with a piece of tape, this one is too weak to keep. (circled in blue)
On the black plastic piece, peek in those holes (circled in orange) and you will see that the switches are blacked out on top, but white on the inside. What you need to do for the passenger switches is to drill small holes but not too deep.
I went with 3 holes per switch, but you can go with just one or whatever you like. Start with a small hole punch or needle to line up the holes, then grab the smallest drill bit you can find, and start drilling BY HAND until you reach the white part underneath the switch. It’s important not to go through all the way because the light output will be too intense and it will look weird.

Do one hole at a time, and guide yourself by holding a flashlight underneath to see how deep you are. Take your time, you will regret it if its even 1/32” off . This is how it should look when lit up:

Step 4: LEDs. I went with 4 purple/blacklight LEDs for the windows and an orange one for the door lock switch, matches the rest of my illumination. Pick the color you like, the sky is the limit. To diffuse the LED light a little more so your dots look even, shave off the top of each LED. I used a bench grinder, sandpaper works too (just longer). I finished with 1000 Grit sandpaper because i’m a perfectionist, you can use whatever you want but the lower the grit the less light output you will get. Once it’s nice and flat, put a tiny drop of krazy glue or clear nail polish on the top part you just sanded it and let it dry.

(before krazy glue)
Since the LED is sanded down, the light isn’t directional anymore, its diffused evenly. The Krazy glue will give it that gloss see-through appearance it had before you sanded it, for better light output.
Step 5: Wire up your LEDs and insert them into the holes of each switch. Have your wiring long enough to come out of the switch assembly, we will be tapping the 12V and ground wires from the door’s wiring. I used hot glue to keep them in place and well pointed towards the white part inside the switch. Make sure there is no metal from the LEDS or wiring exposed, it will be sandwiched onto the green PCB when you put it back in and the last thing you want is an electrical short in there.
You may have to do a little trimming with a dremel in order to fit the wiring you’re adding, nothing too big though. Have your wiring come out the side or in between the switches. Once everything is in, tight and dry, you can snap the white part of the switch assembly back into the black one.
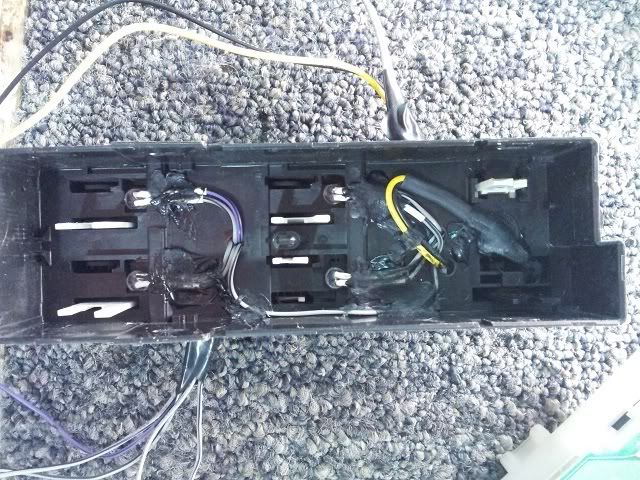
Step 5: Tap into the door wiring for power. In that white connector, you will see in the middle 2 wires with a slightly bigger gauge than the other. The Green/Black is the positive (+) and the Black is the negative (-).

Tape up your wires properly and reassemble everything. These lights will only work when the key is in and at Ignition, they are on a separate circuit than the dash illumination. Once you confirm that your lights are working, and that all your windows and locks work (In case one of your windows doesn’t work, pop out that white assembly, make sure the guides are lined up and put it back in. I had that happen to me), pop the switch panel back in, screw the pocket down and enjoy your new illuminated switches.
That’s it!
